1. Remove the Motor
Locate the three Torx T30 screws on the window regulator motor. Carefully remove the screws and detach the motor. Keep the motor aside and handle the glass carefully to avoid damage.
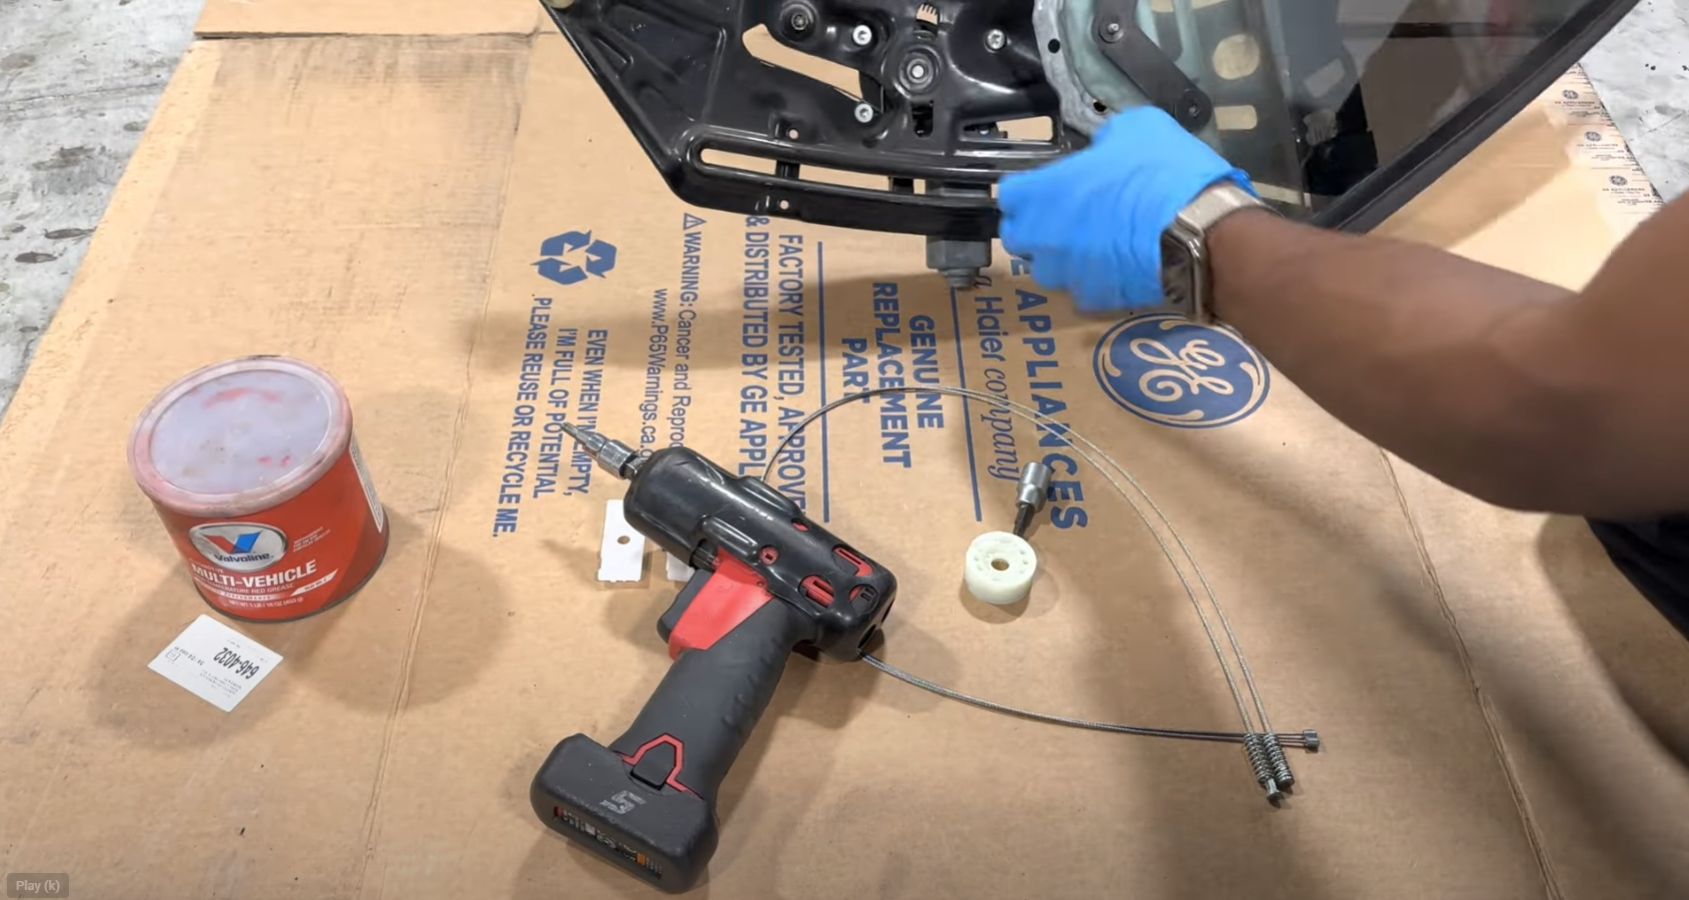
Fig. 1
2. Detach and Remove the Spool Wheel
Use a flathead screwdriver or pry bar to pop off the old spool wheel from the regulator. Inspect the old spool and cables. Pro Tip: Even if reusing parts, the cables need to be reinserted into the proper grooves.

Fig. 1
3. Prepare the New Spool Wheel
If the new spool doesn’t fit easily, use pliers to slightly compress the metal clips around the spool mount. (Fig 1.) Check Orientation: Ensure the teeth of the wheel (for the motor) are facing upwards. (Fig 2.) Insert one cable end into the designated slot on the spool and lay it into the groove.
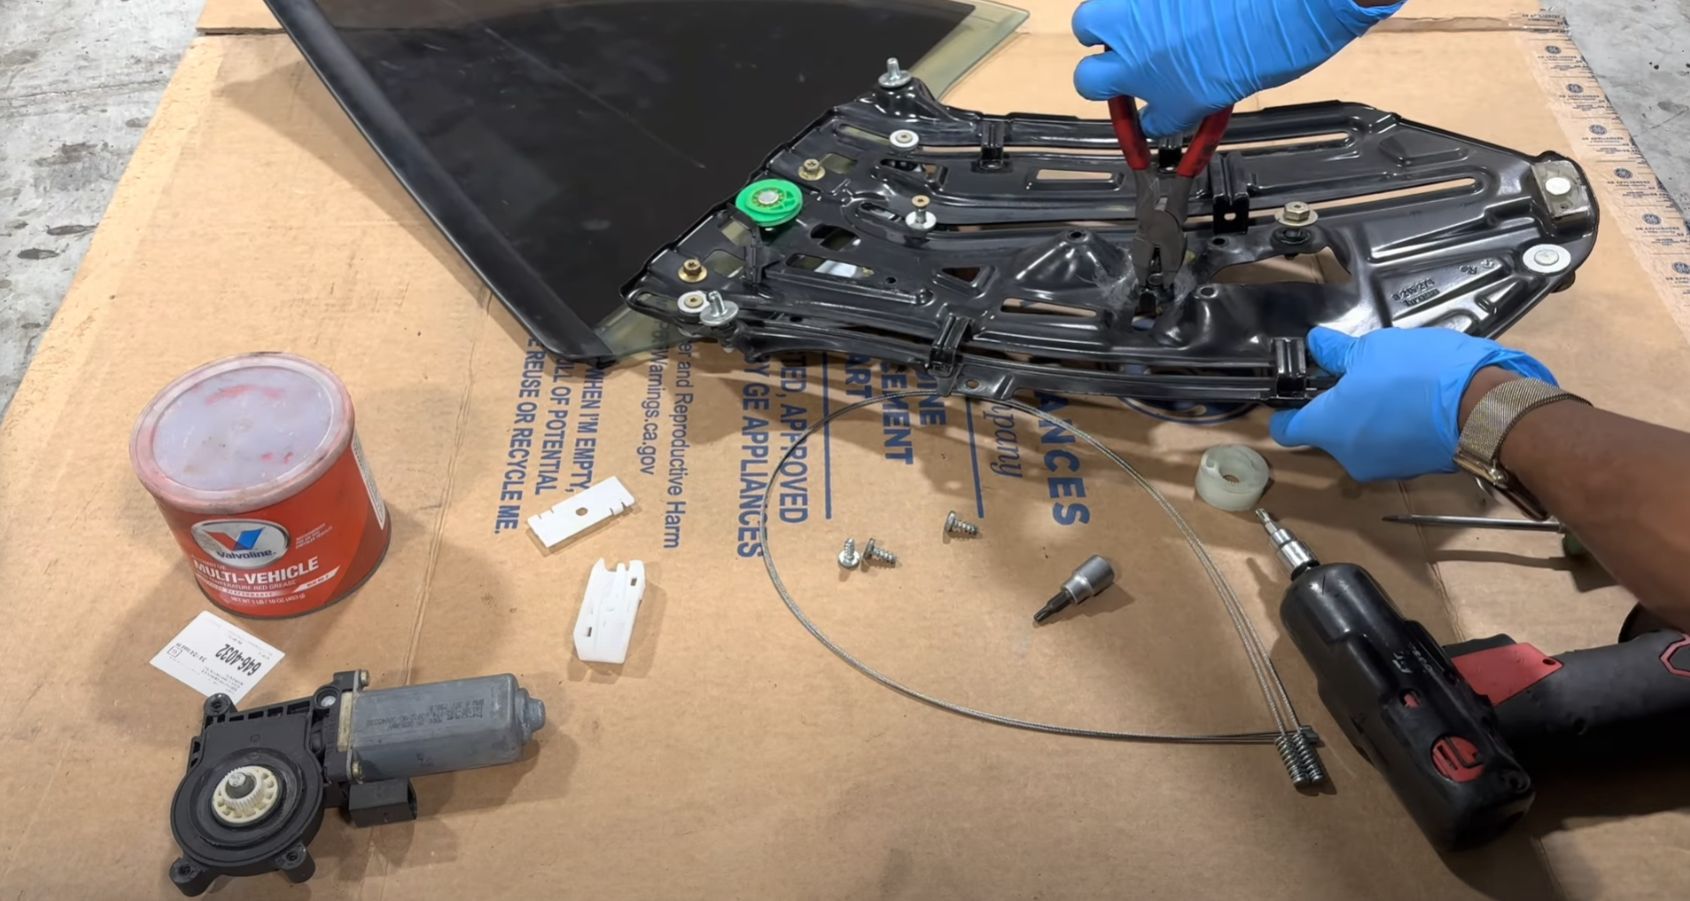
Fig. 1
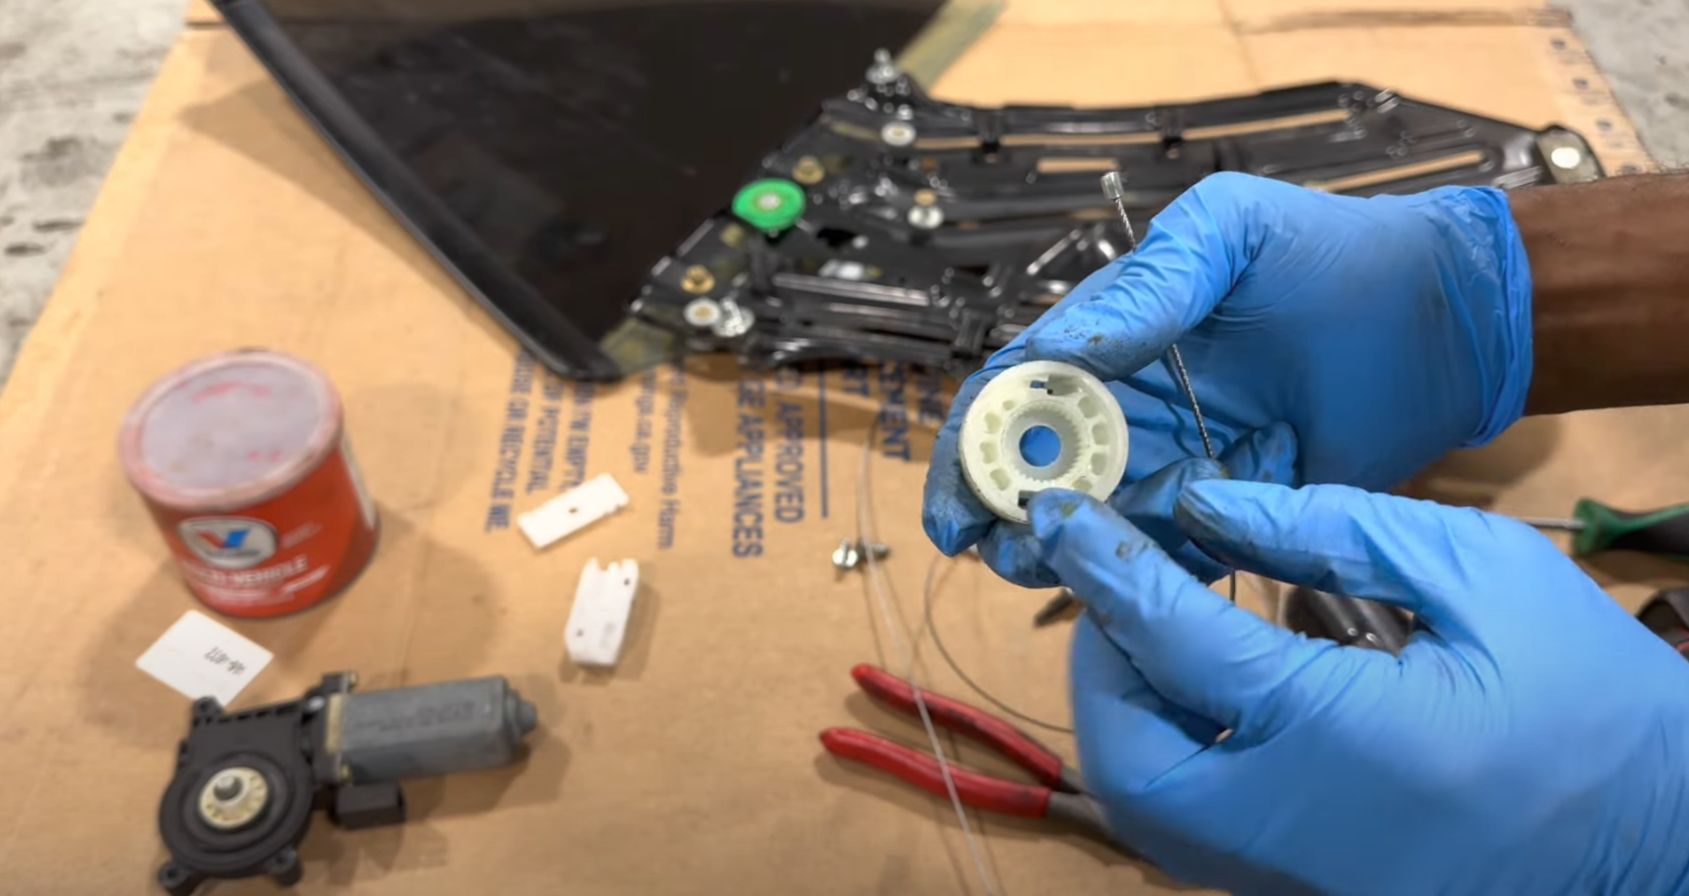
Fig. 2
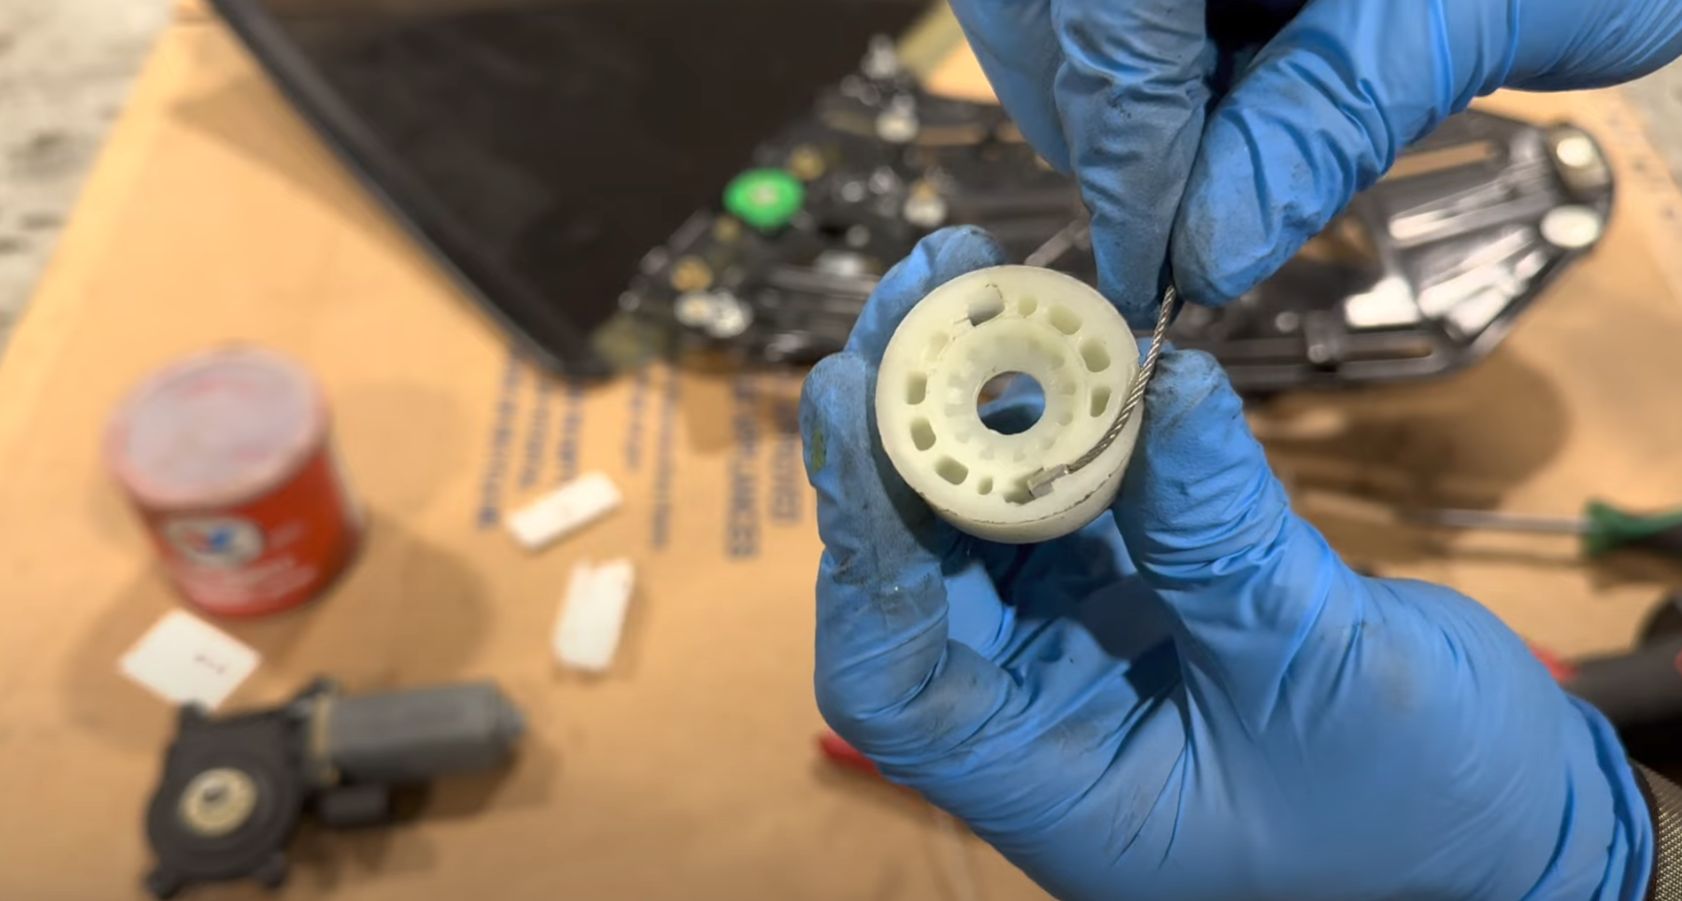
Fig. 3
4. Apply Grease
Apply grease under the spool, on the grooves, and along the sides where cables will move.
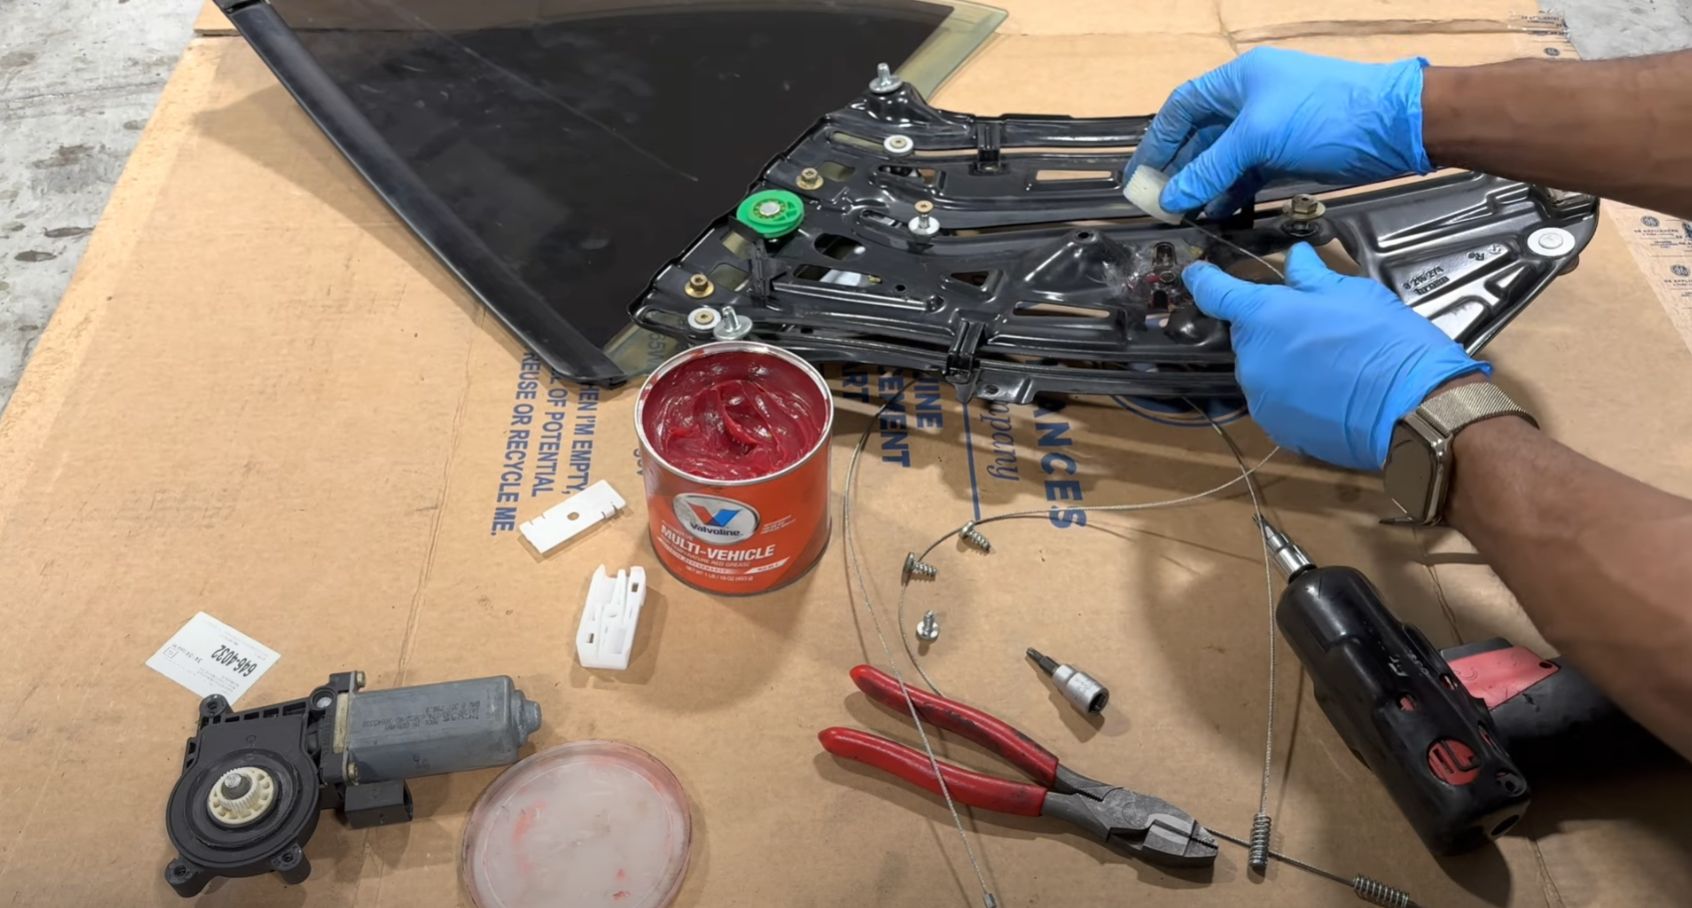
Fig. 1
5. Reinsert Cables
Loop the cables into the spool grooves, ensuring: -One cable loops upwards. -The other cable loops downwards. Secure the spool in its place while ensuring the cables align with the grooves on the regulator.
6. Replace the clip
Identify the replacement clip provided in the repair kit. Insert the cable ends into the clip’s designated slots, applying pressure to secure them. Align the clip properly: The locking plate must face upwards to prevent the cables from slipping out.
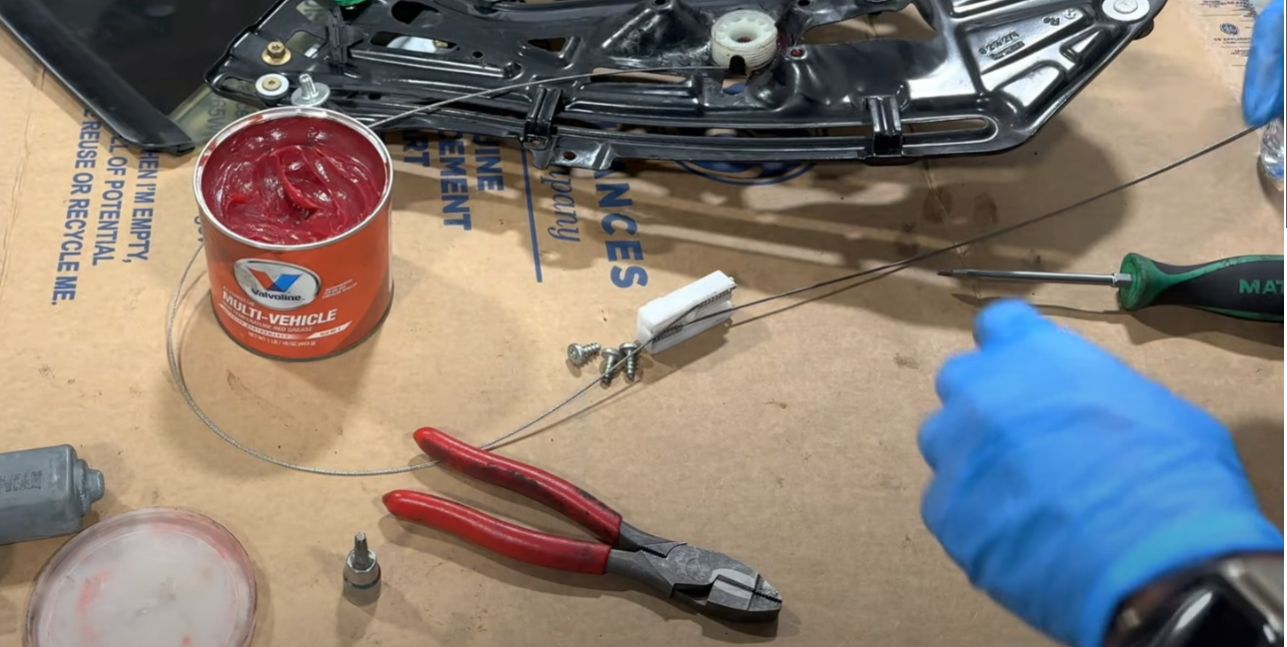
Fig. 1
7. Feed cable around green pully
You want to take the side of the cable that's currently connected to your spool wheel and feed it around the green pully. There should be a grove to accept the cable.
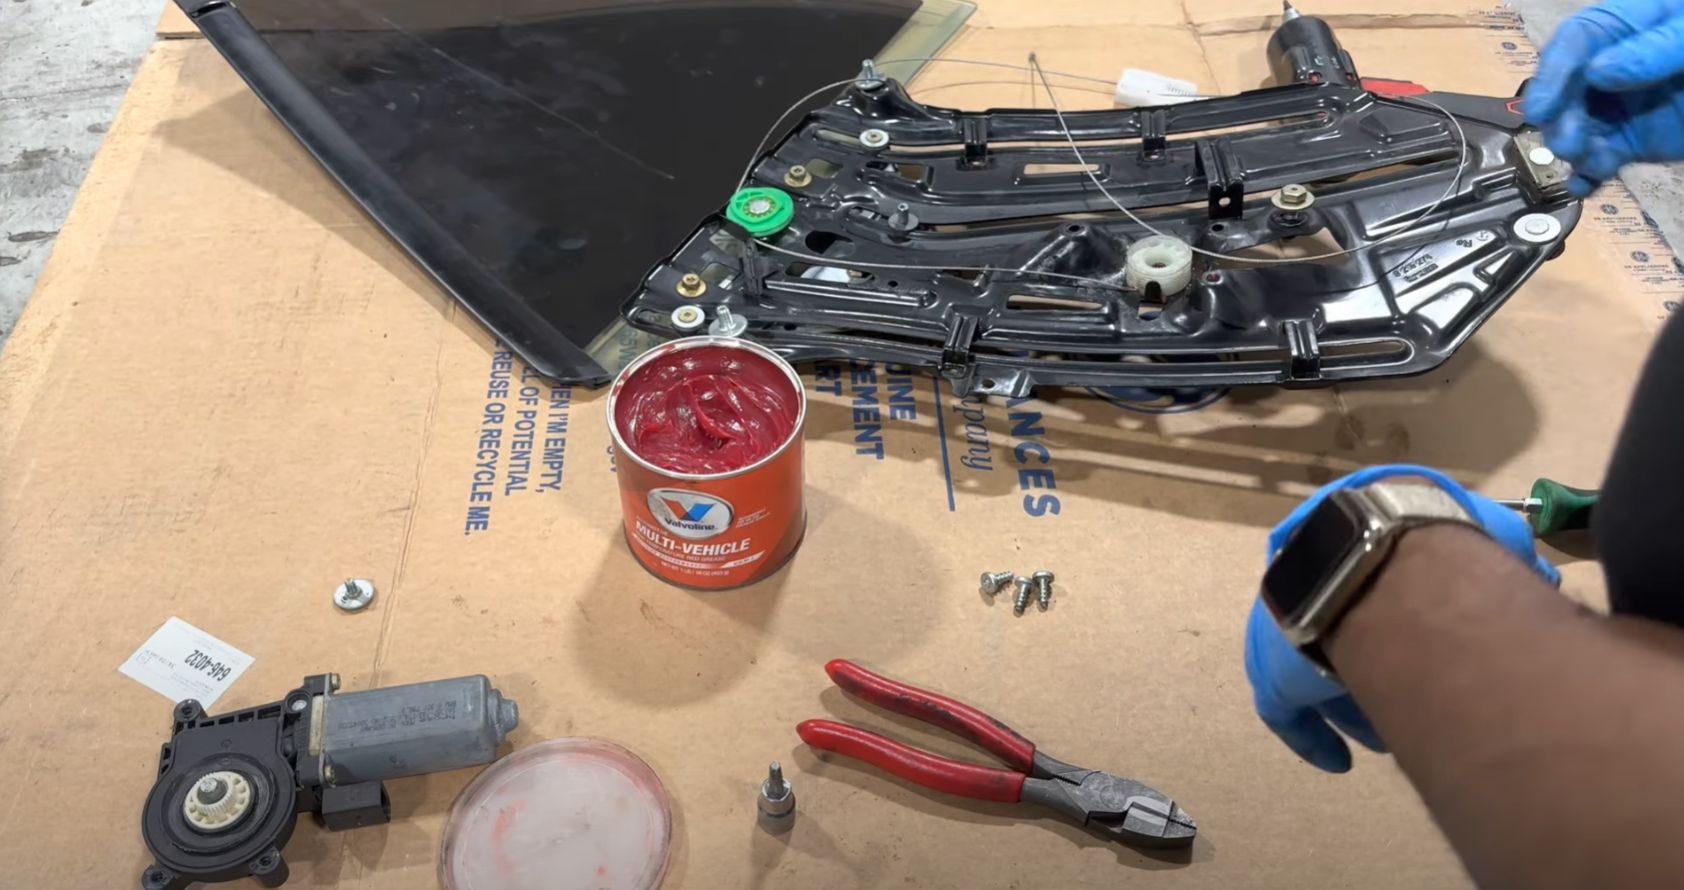
Fig. 1
8. Feed the cable along the right side
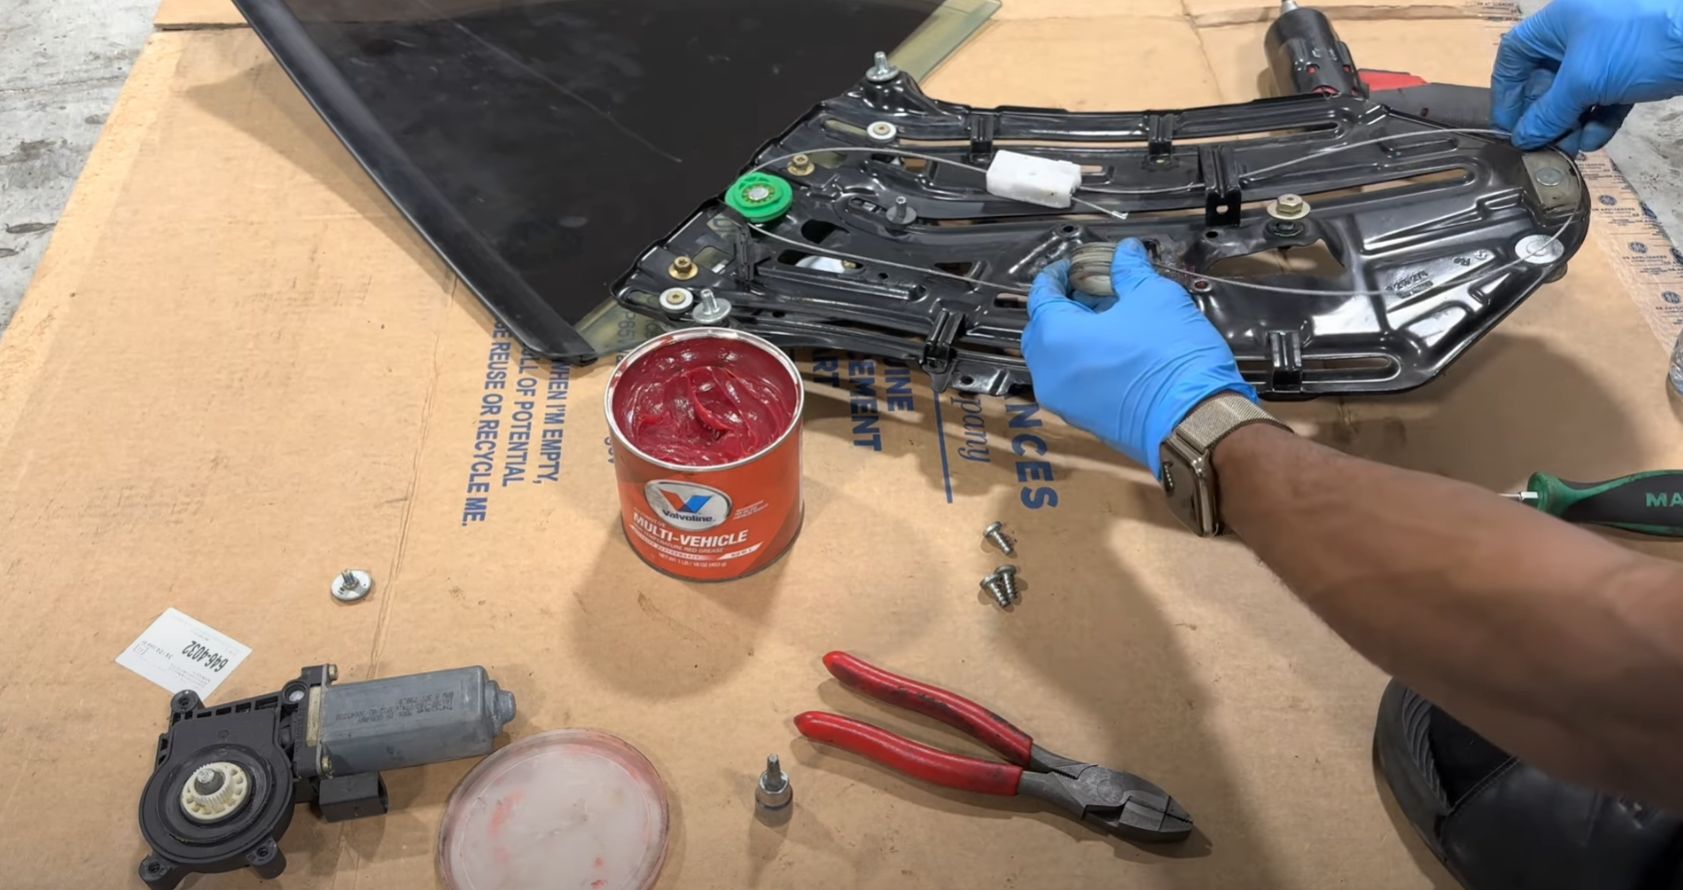
Fig. 1
9. Loop the cable around the spool
This part can be tricky and feel like the cable is too tight. Try by wrapping the cable around the spool with the splines facing down. Then once you have it tight around the spool, rotate the assembly (Fig 3.) and push it onto the frame Once the spool is down, use a flathead to pry the frame to hold the spool down (Fig 4.)
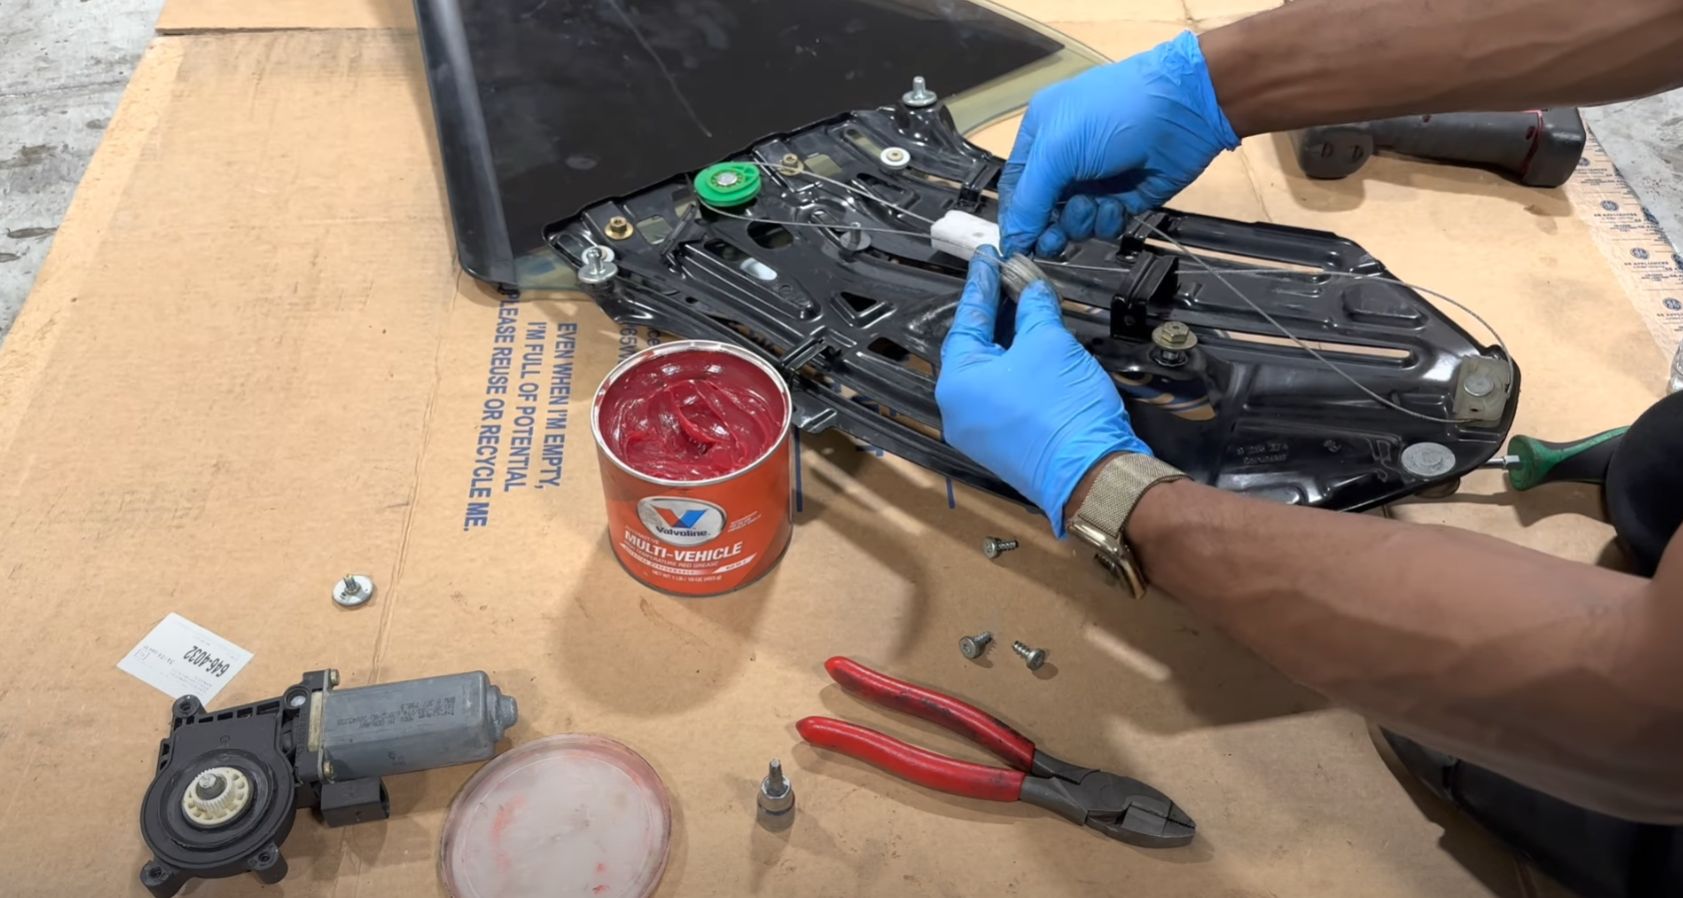
Fig. 1
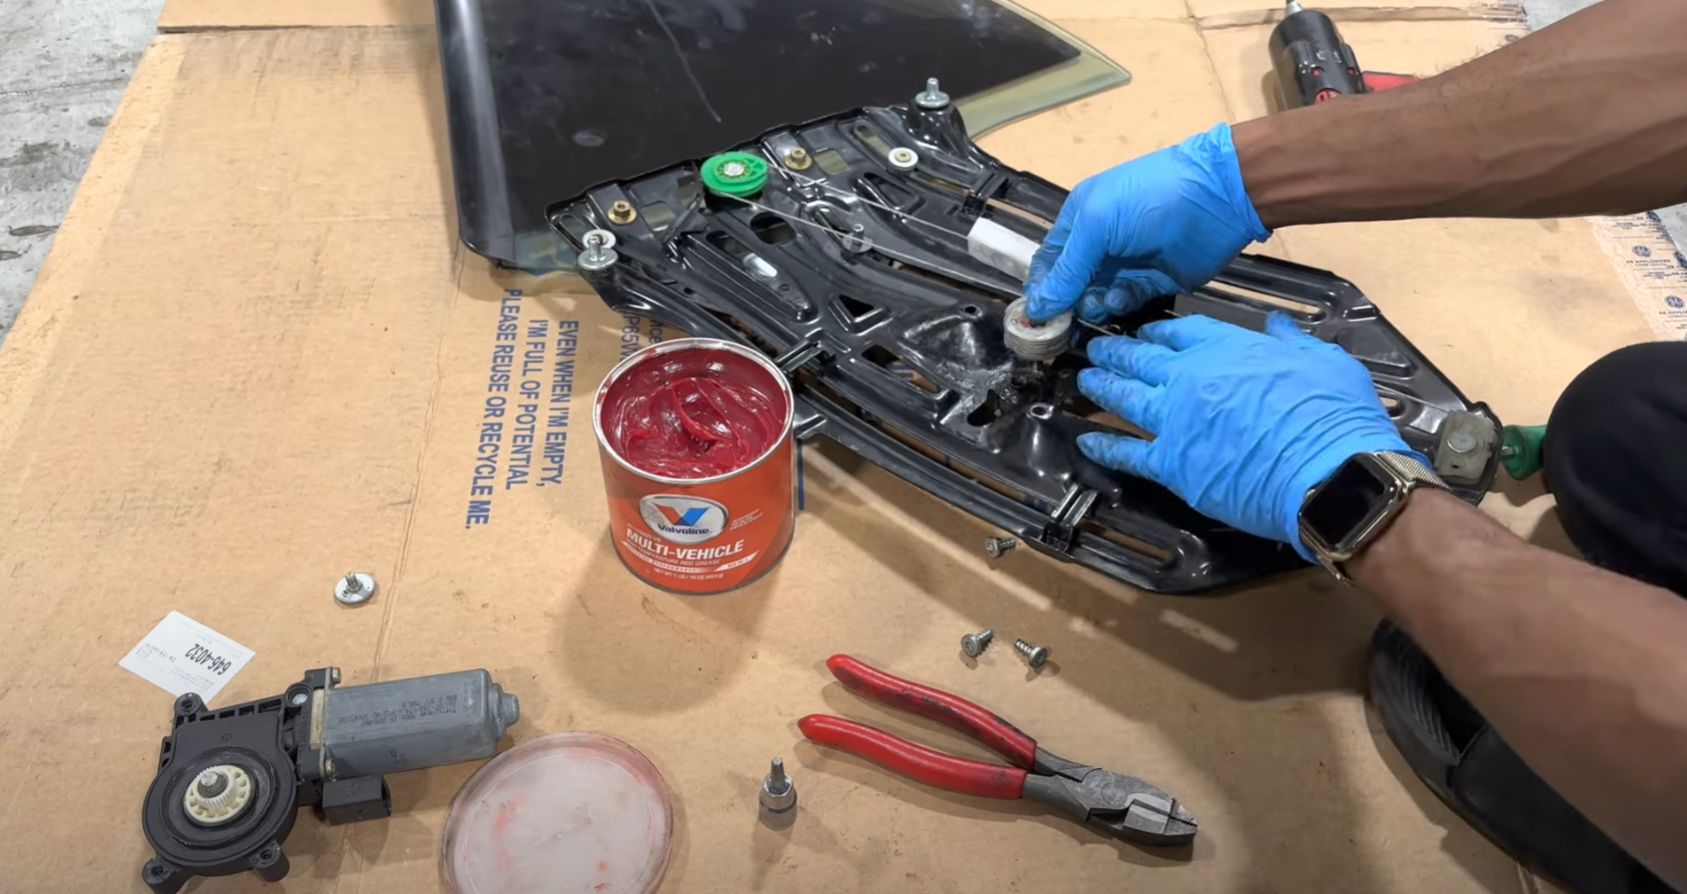
Fig. 2
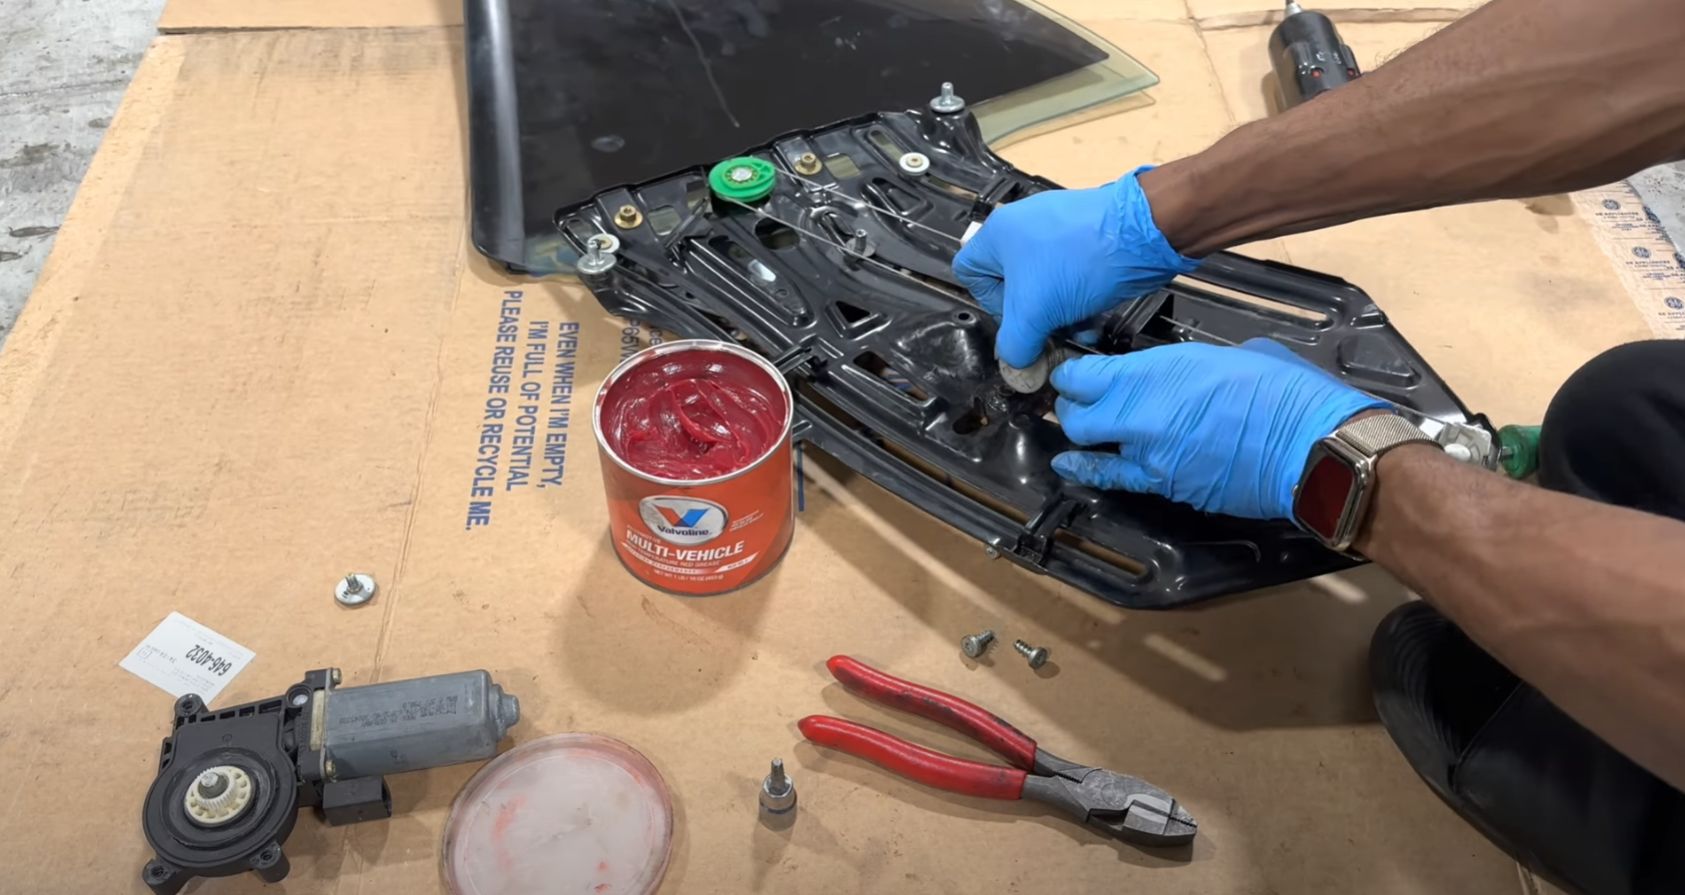
Fig. 3
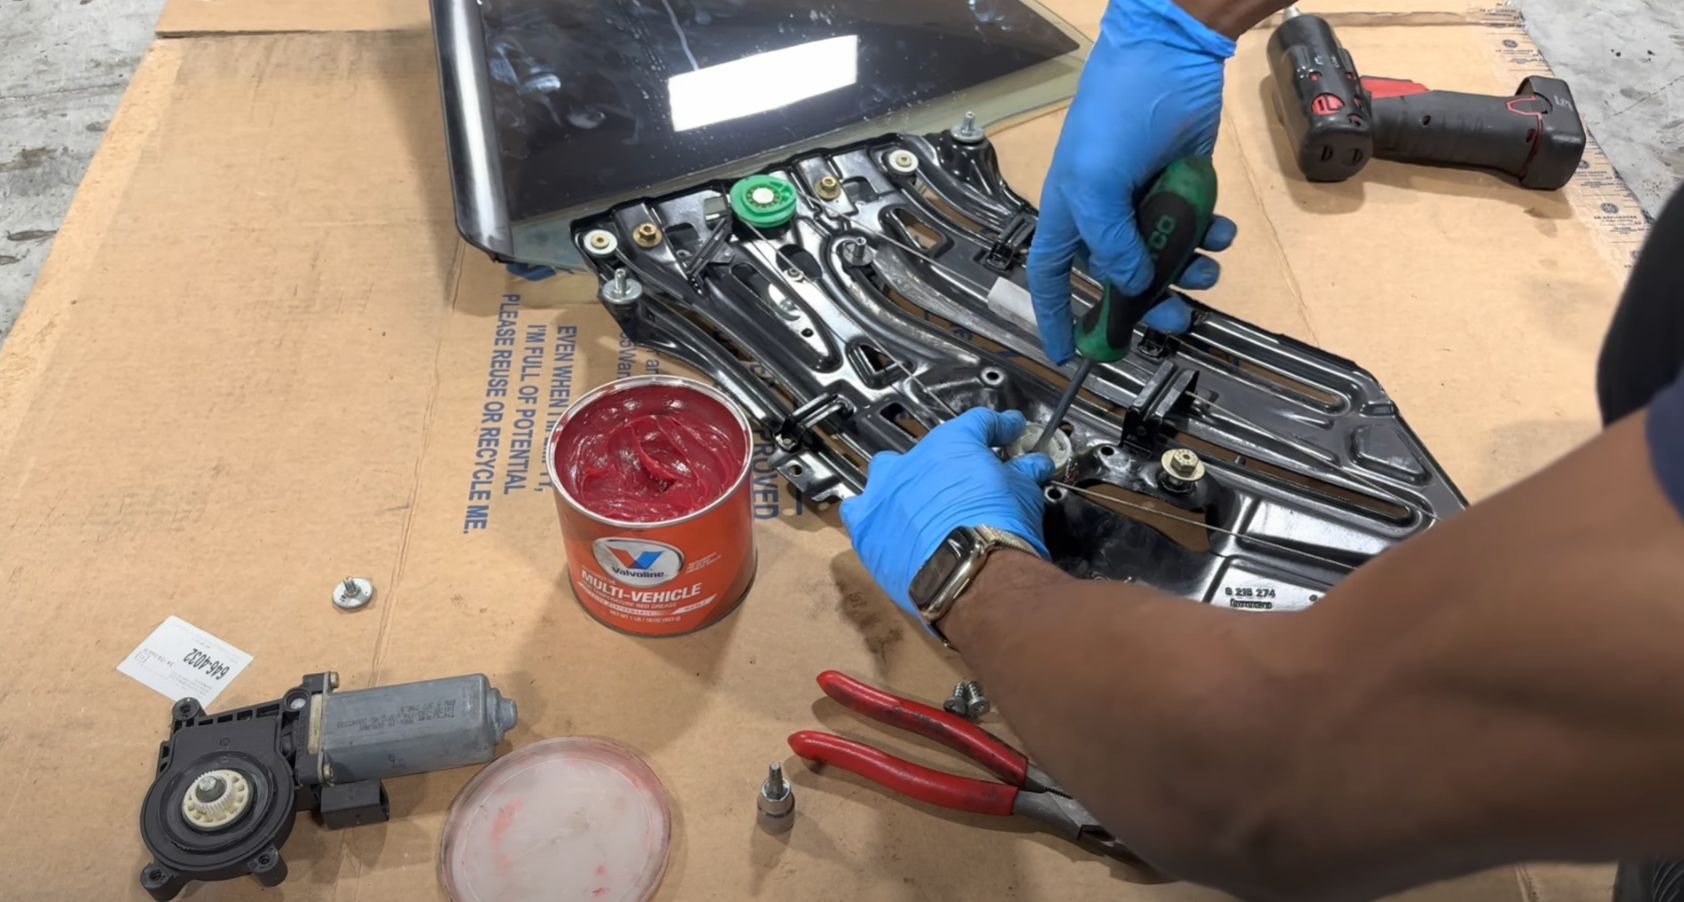
Fig. 4
10. Reinstall the Motor
Align the motor gear teeth with the spool teeth. With your hand holding the actuator in, rotate the whole assembly and reinstall the screws. Reattach the motor using the three Torx T30 screws. Be careful not to overtighten. Test the tension and movement by manually actuating the regulator.
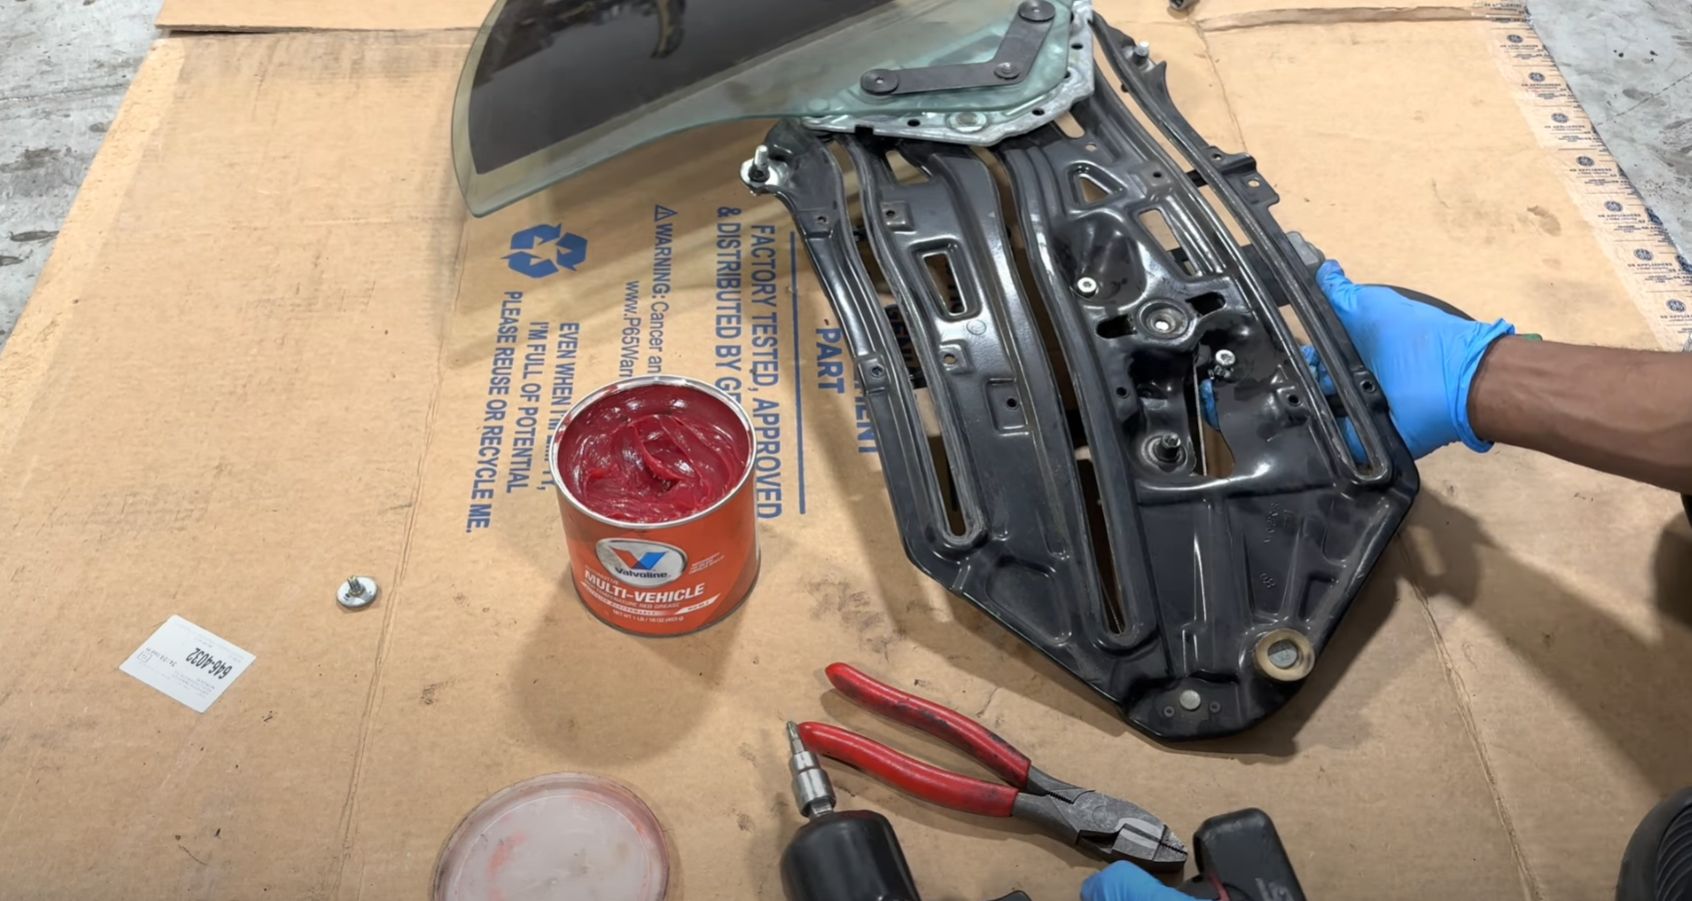
Fig. 1
11. Final Lubrication and Testing
Apply high-temp grease to the cables where accessible for smoother operation. Test the regulator’s operation by manually moving the motor or attaching power temporarily. Ensure all screws and clips are secure.
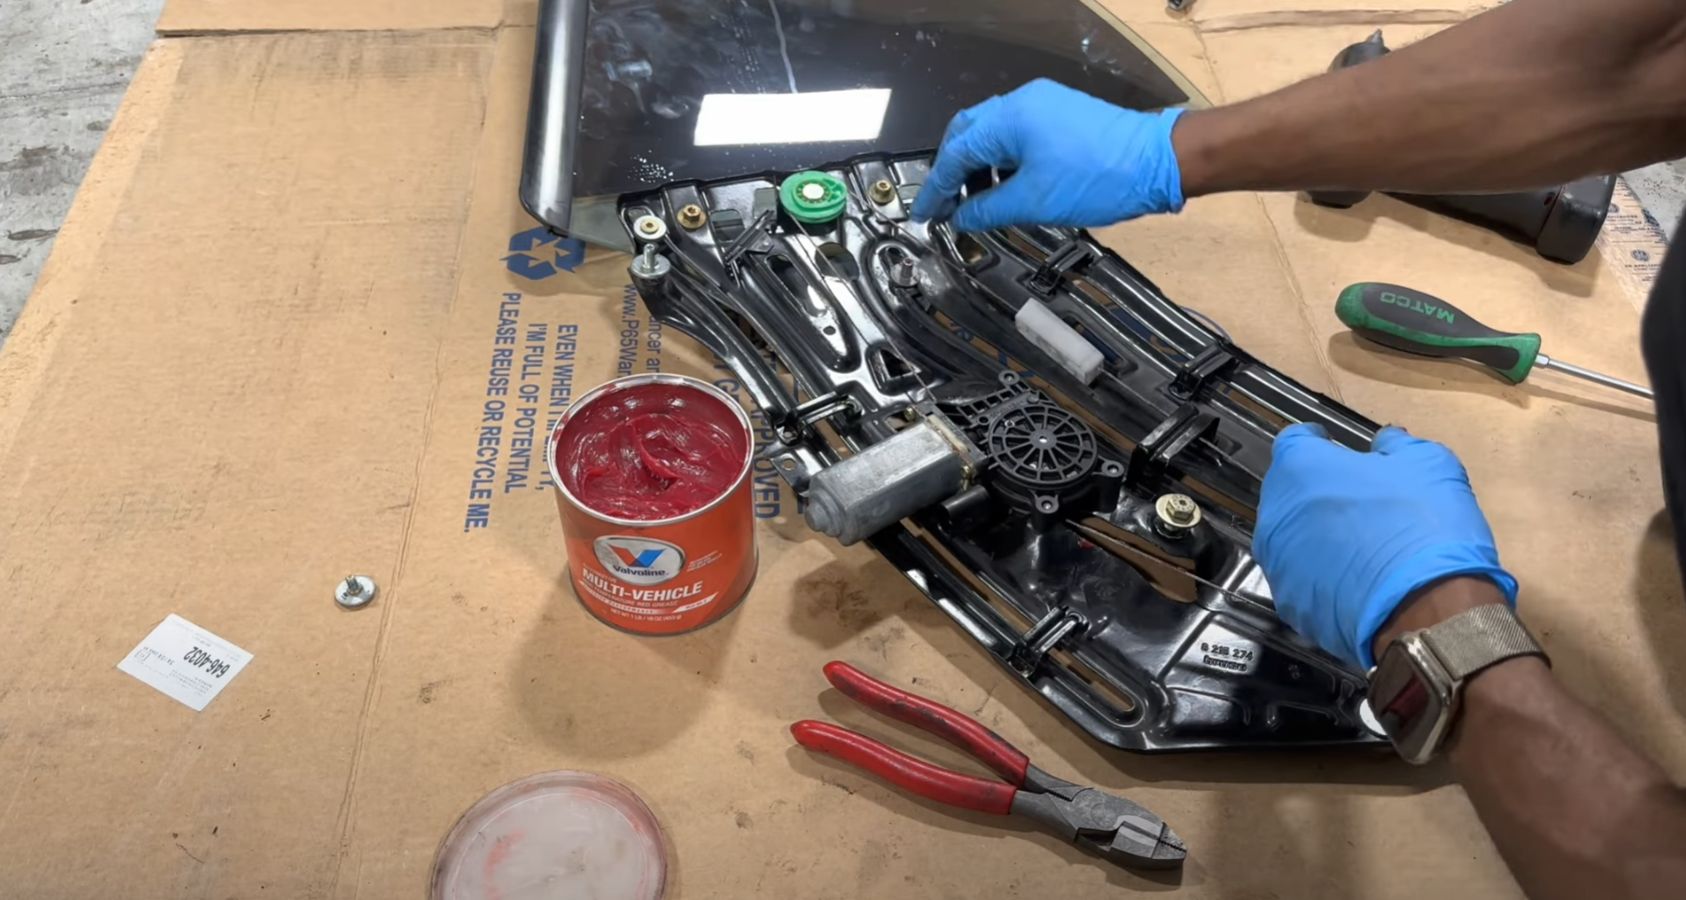
Fig. 1
12. Reattach the Window Glass
Secure the glass to the regulator using the provided clips and guides. Tighten the Torx T20 screw with the washer to lock the glass in place.
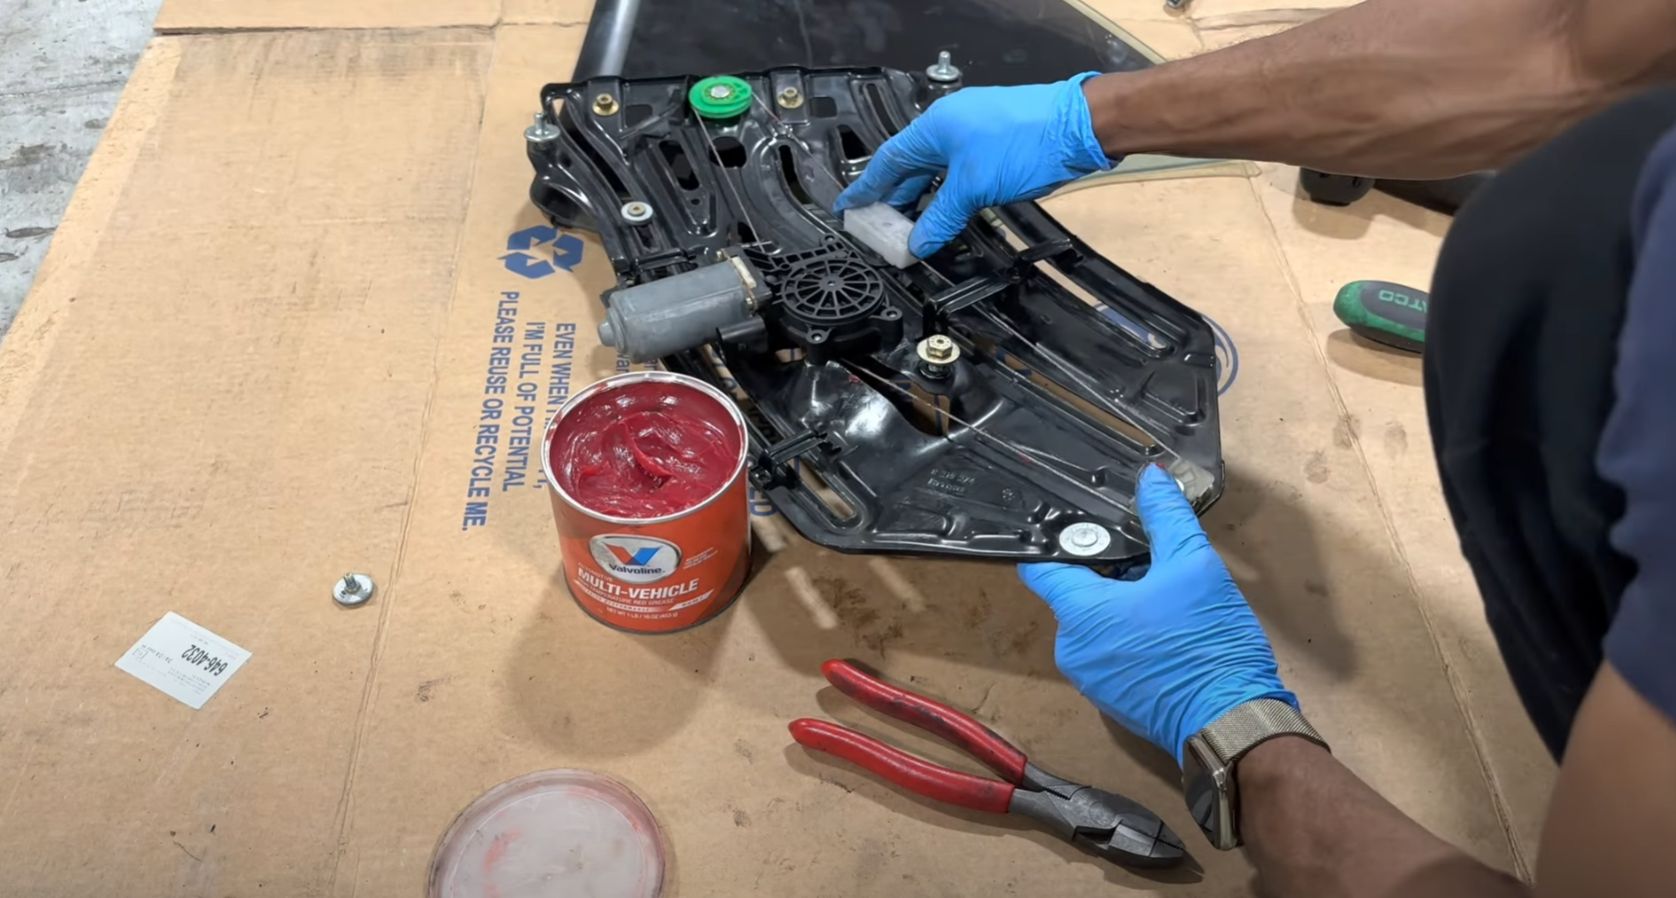
Fig. 1
E46 Convertible Rear Window Regulator Repair
An in-depth DIY on how to repair the window regulator on an e46 convertible, NOT how to remove it. This will also apply to the e36 convertible since they operate the same way.

over 1 year ago (Last Updated: over 1 year ago)