1. Lift vehicle, remove rear wheels, and v braces
If you are using a Quick Jack, lift each side of the car with a standard low profile jack and remove the outer T60 bolt for both V braces. You will not be able to access this when the car is lifted using the quickjack. Also remove any plastic fasteners holding the plastic shields that cover the V brace.
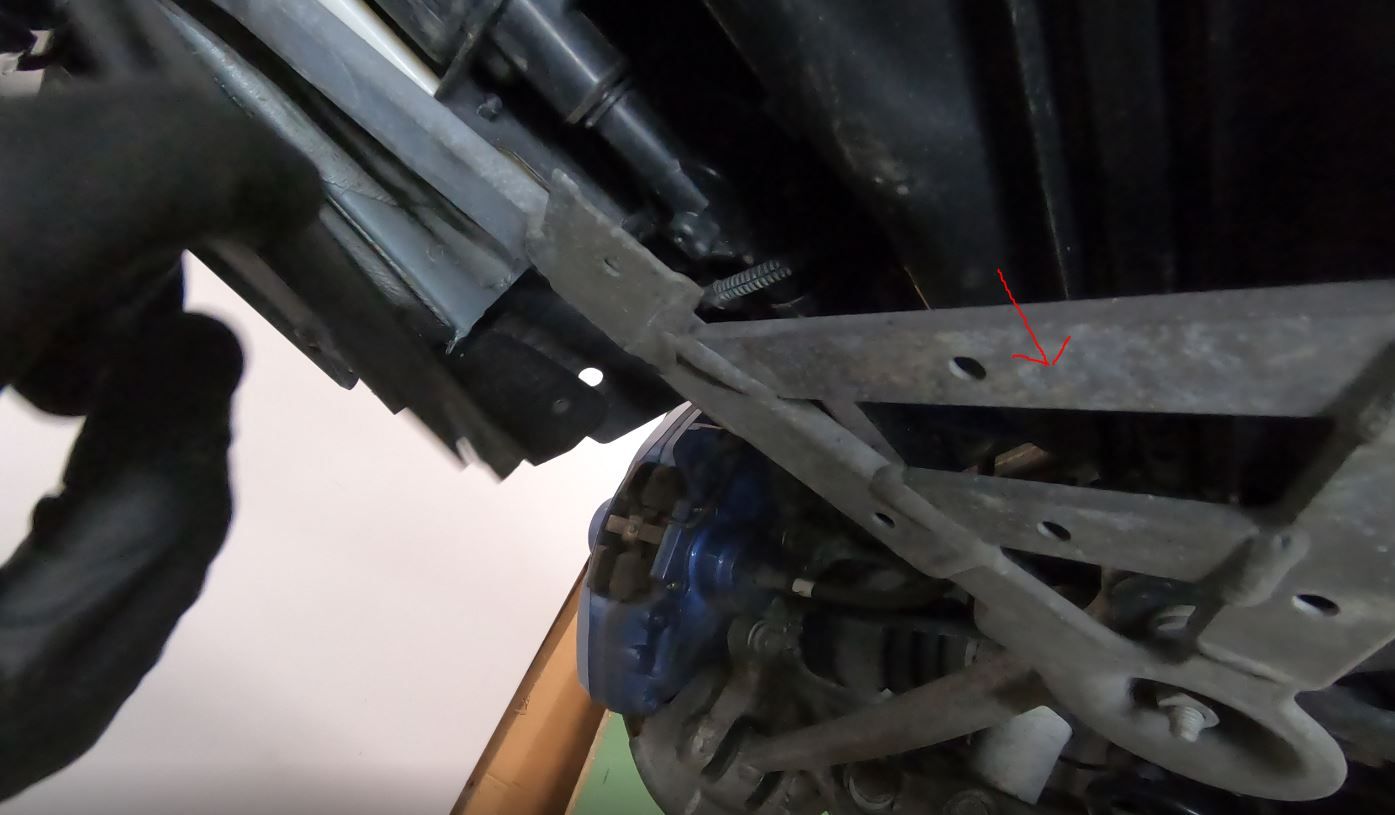
Fig. 1
2. Remove the exhaust
3. Remove the 3 heat shields covering the drive shaft and transmission
4. Remove the heat shield that is above the muffler
5. Disconnect the ground strap from the body (near rear bushing)
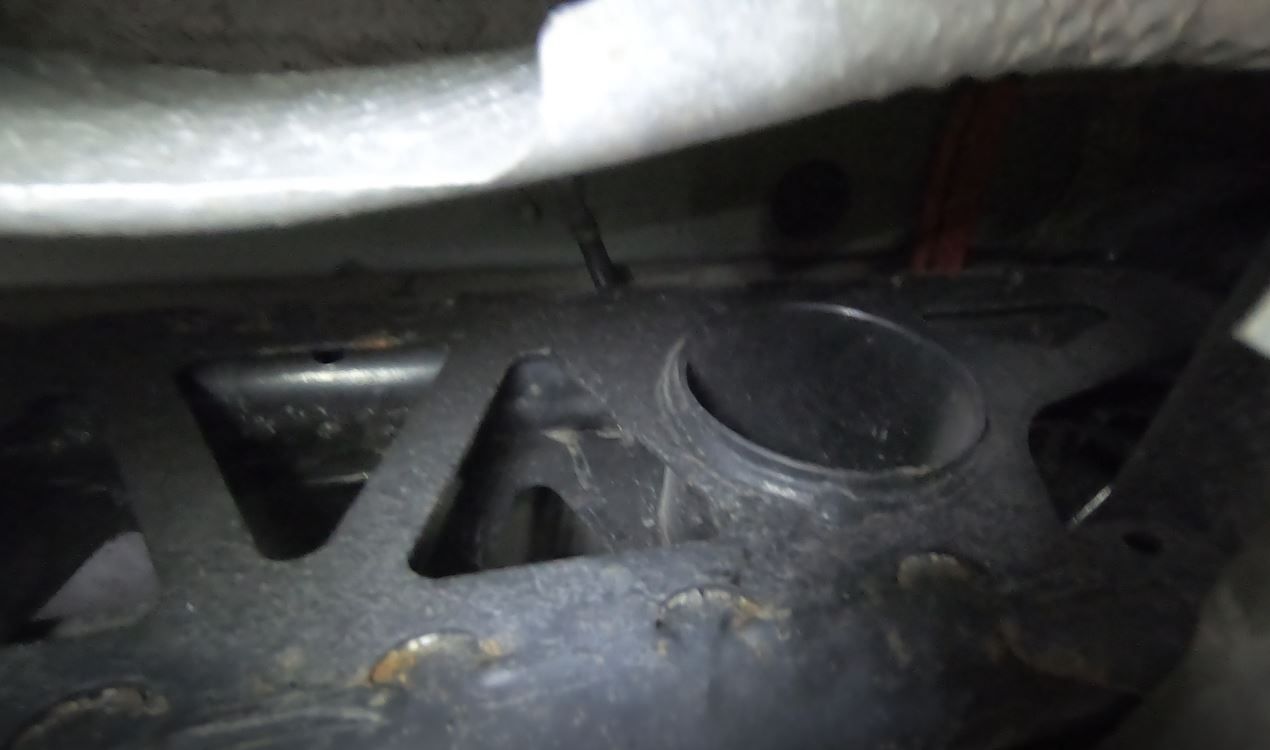
Fig. 1
6. Lower the subframe
Lower the subframe onto the repair bolts with washers (Important - part number for bolt and washer above). Easiest way to do this: Remove the driver side rear subframe bolt and replace with the repair bolt, support the rear driver side with a jack (circled below) and replace the front driver side bolt with a repair bolt. Lower the jack so that the drivers side of the subframe lowers onto the repair bolts. Repeat for the passenger side
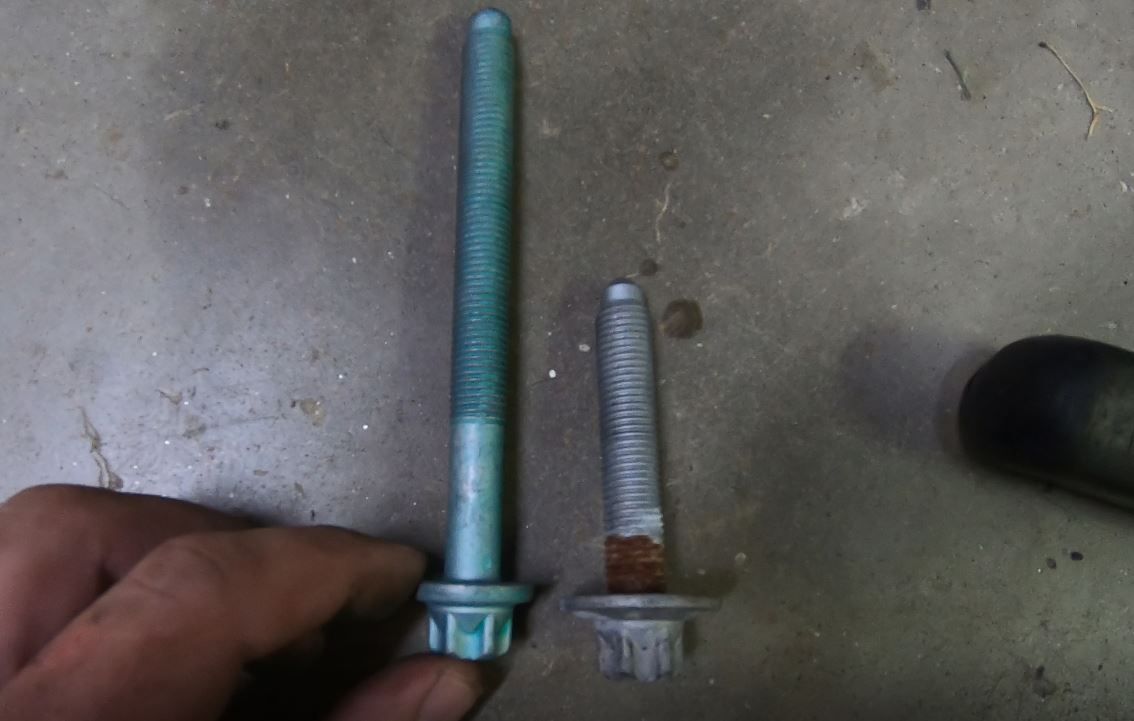
Fig. 1
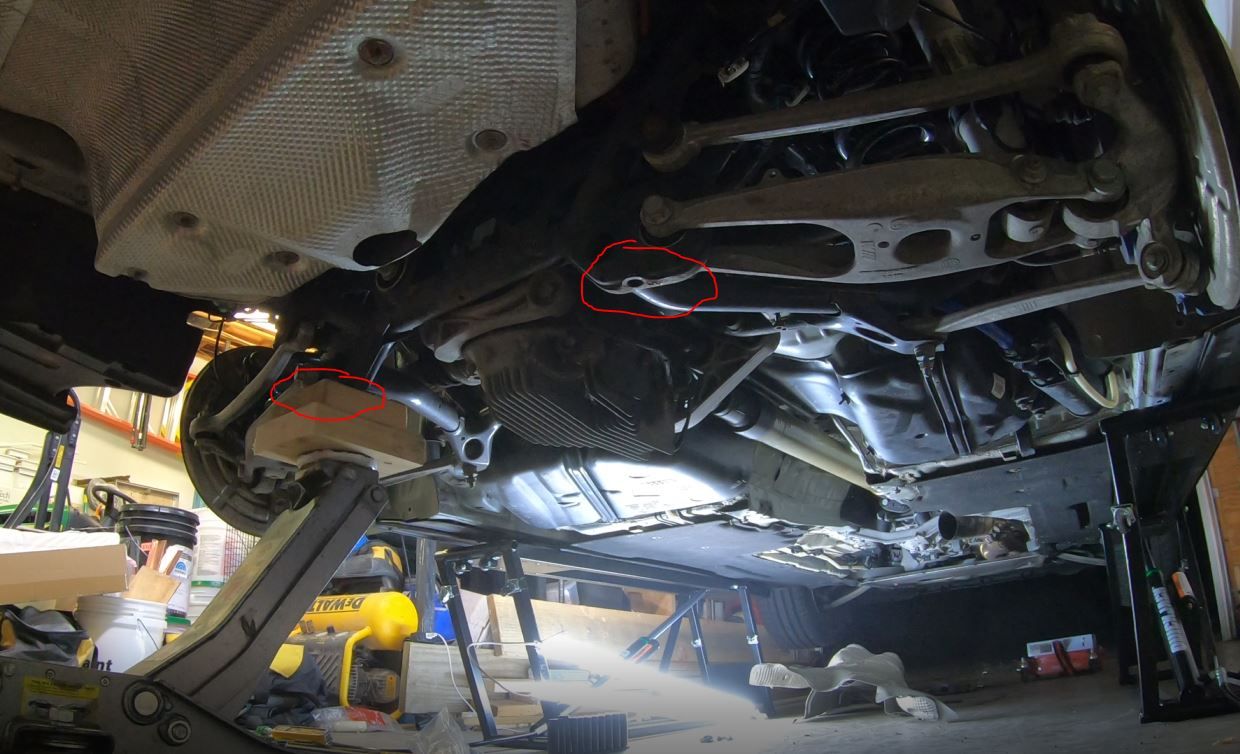
Fig. 2
7. Loosen rear diff bolt
Remove the vibration damper and loosen the rear diff bolt but don’t remove just yet.
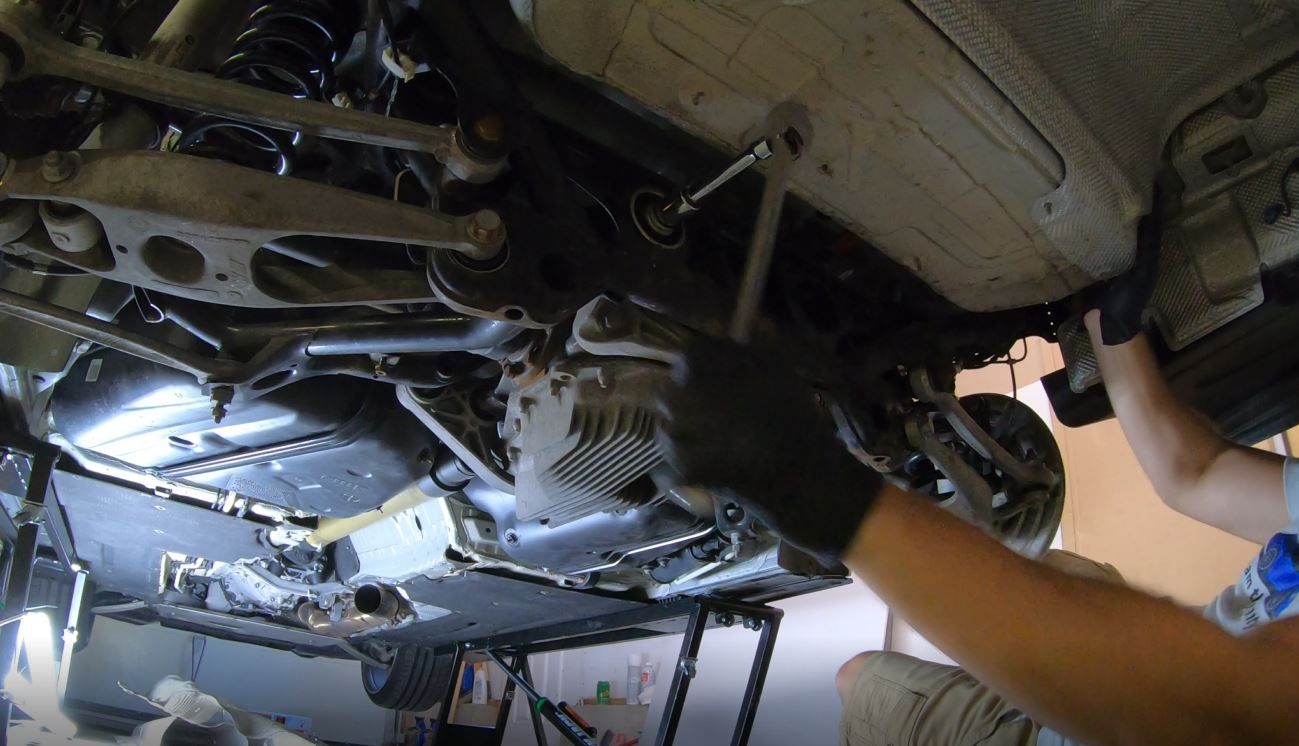
Fig. 1
8. Prep for subframe drop
Now we need to lower the subframe on the drivers side more in order to access the outer driver side bolt on the front mount (blocked by the gas tank). Remove the 3 bolts for the driver side shock. Remove the driver side caliper and place on top of control arms. Open the black door to the right of the driver side shock and pull the connectors out of the water shield box (you don’t need to disconnect them). This will give you enough slack while you drop the subframe lower.
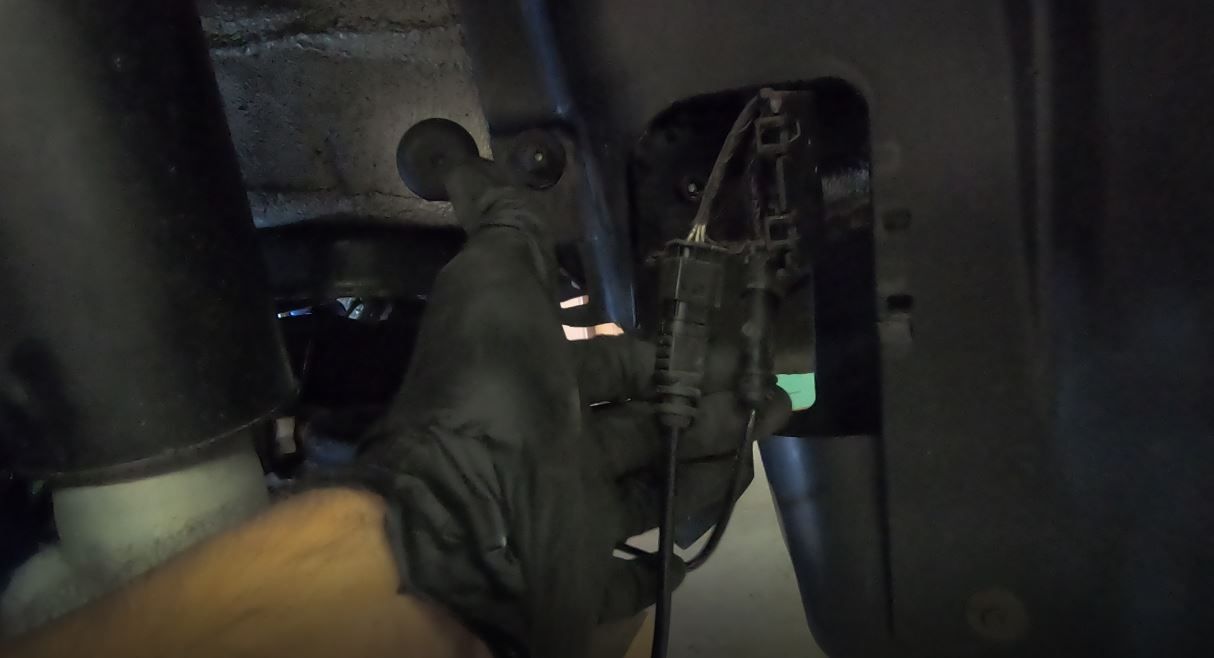
Fig. 1
9. Drop subframe
Support the driver side of the rear subframe with a jack and remove the repair bolts on the drivers side. Lower the drivers side of the subframe until you can clearly access all of the bolts on the front mount.
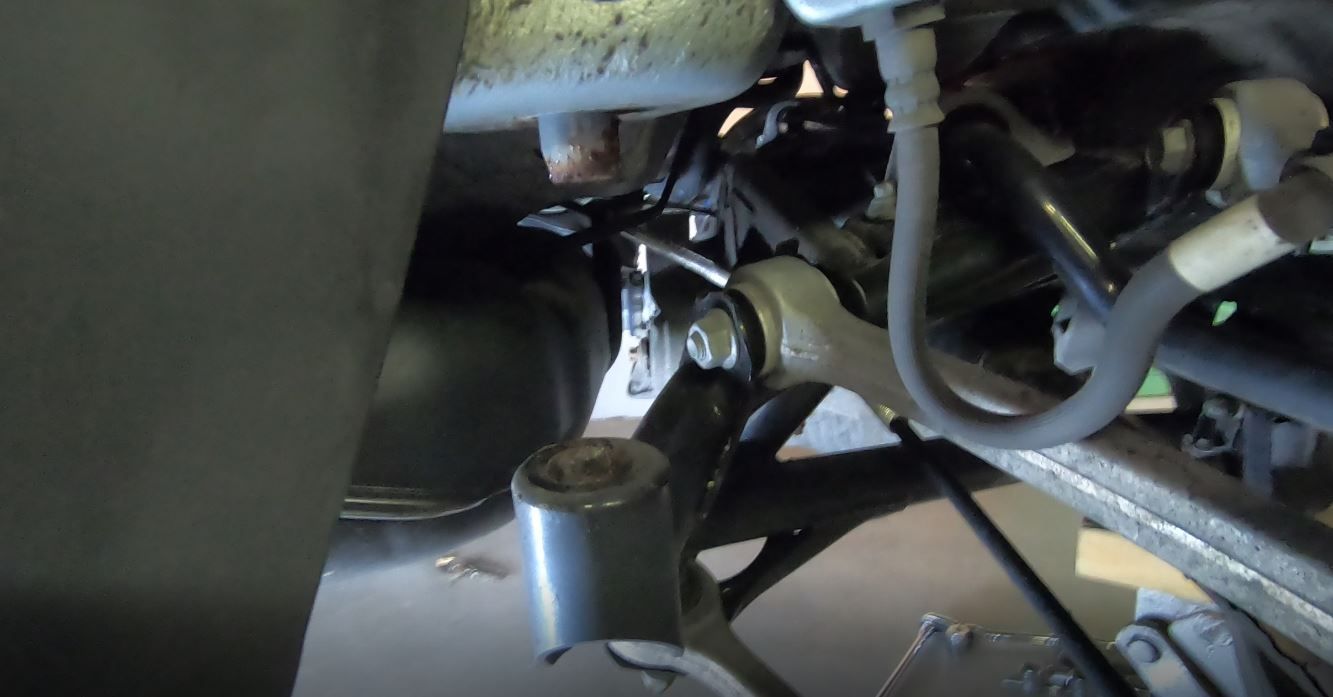
Fig. 1
10. Remove front brace bolts
Place a second jack under the diff and remove the 4 bolts holding on the front brace to the diff/subframe
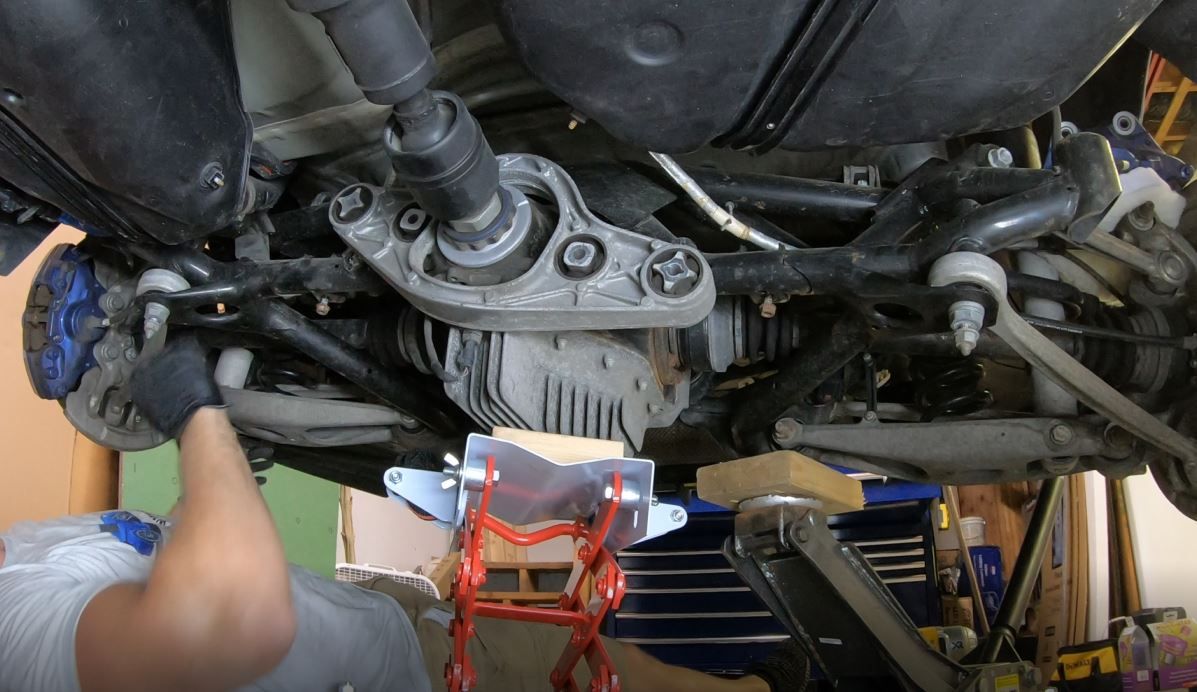
Fig. 1
11. Remove the front brace
Head to the front of the car and support the transmission. Once supported, remove the transmission mount, rubber mounts, and metal brace from the transmission itself. Remove the 6 bolts holding the guibo to the driveshaft / transmission. Slide the front diff brace over the driveshaft and out of the car.
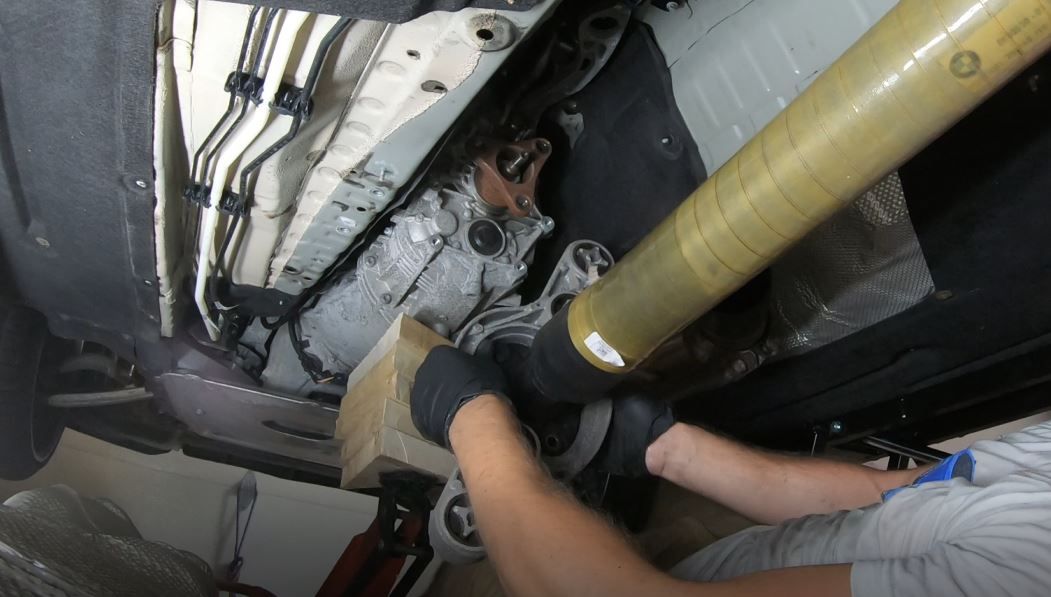
Fig. 1
12. Replace front brace bushings
Replace all 4 bushings and slide the brace back over the driveshaft and to the diff.

Fig. 1
13. Install the 2 inner bolts
Install the 2 inner bolts connecting the mount to the diff. (Don’t install the outer bolts to the subframe just yet)
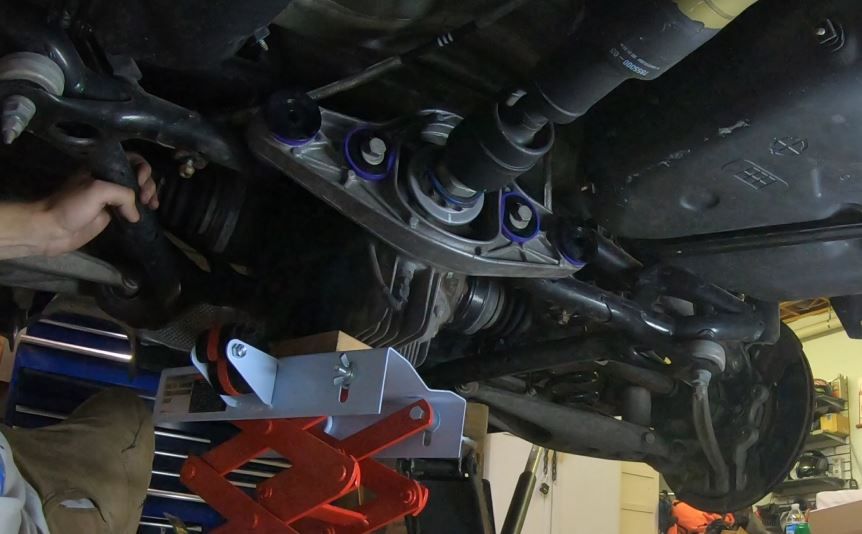
Fig. 1
14. Re-install guibo bolts and transmission mount
Re-install guibo bolts and transmission mount. Remove transmission support
15. Remove rear mount
Wiggle the diff out of the way and remove the rear diff bushing and install new (this is why we haven't installed the front outer bolts yet). The Schwaben kit won't work on this bushing so I got a piece of 3" ID steel to use as a sleeve. I ended up removing the middle of the mount somehow and still had to cut out the outer metal section of the old mount using a saw and chisel.
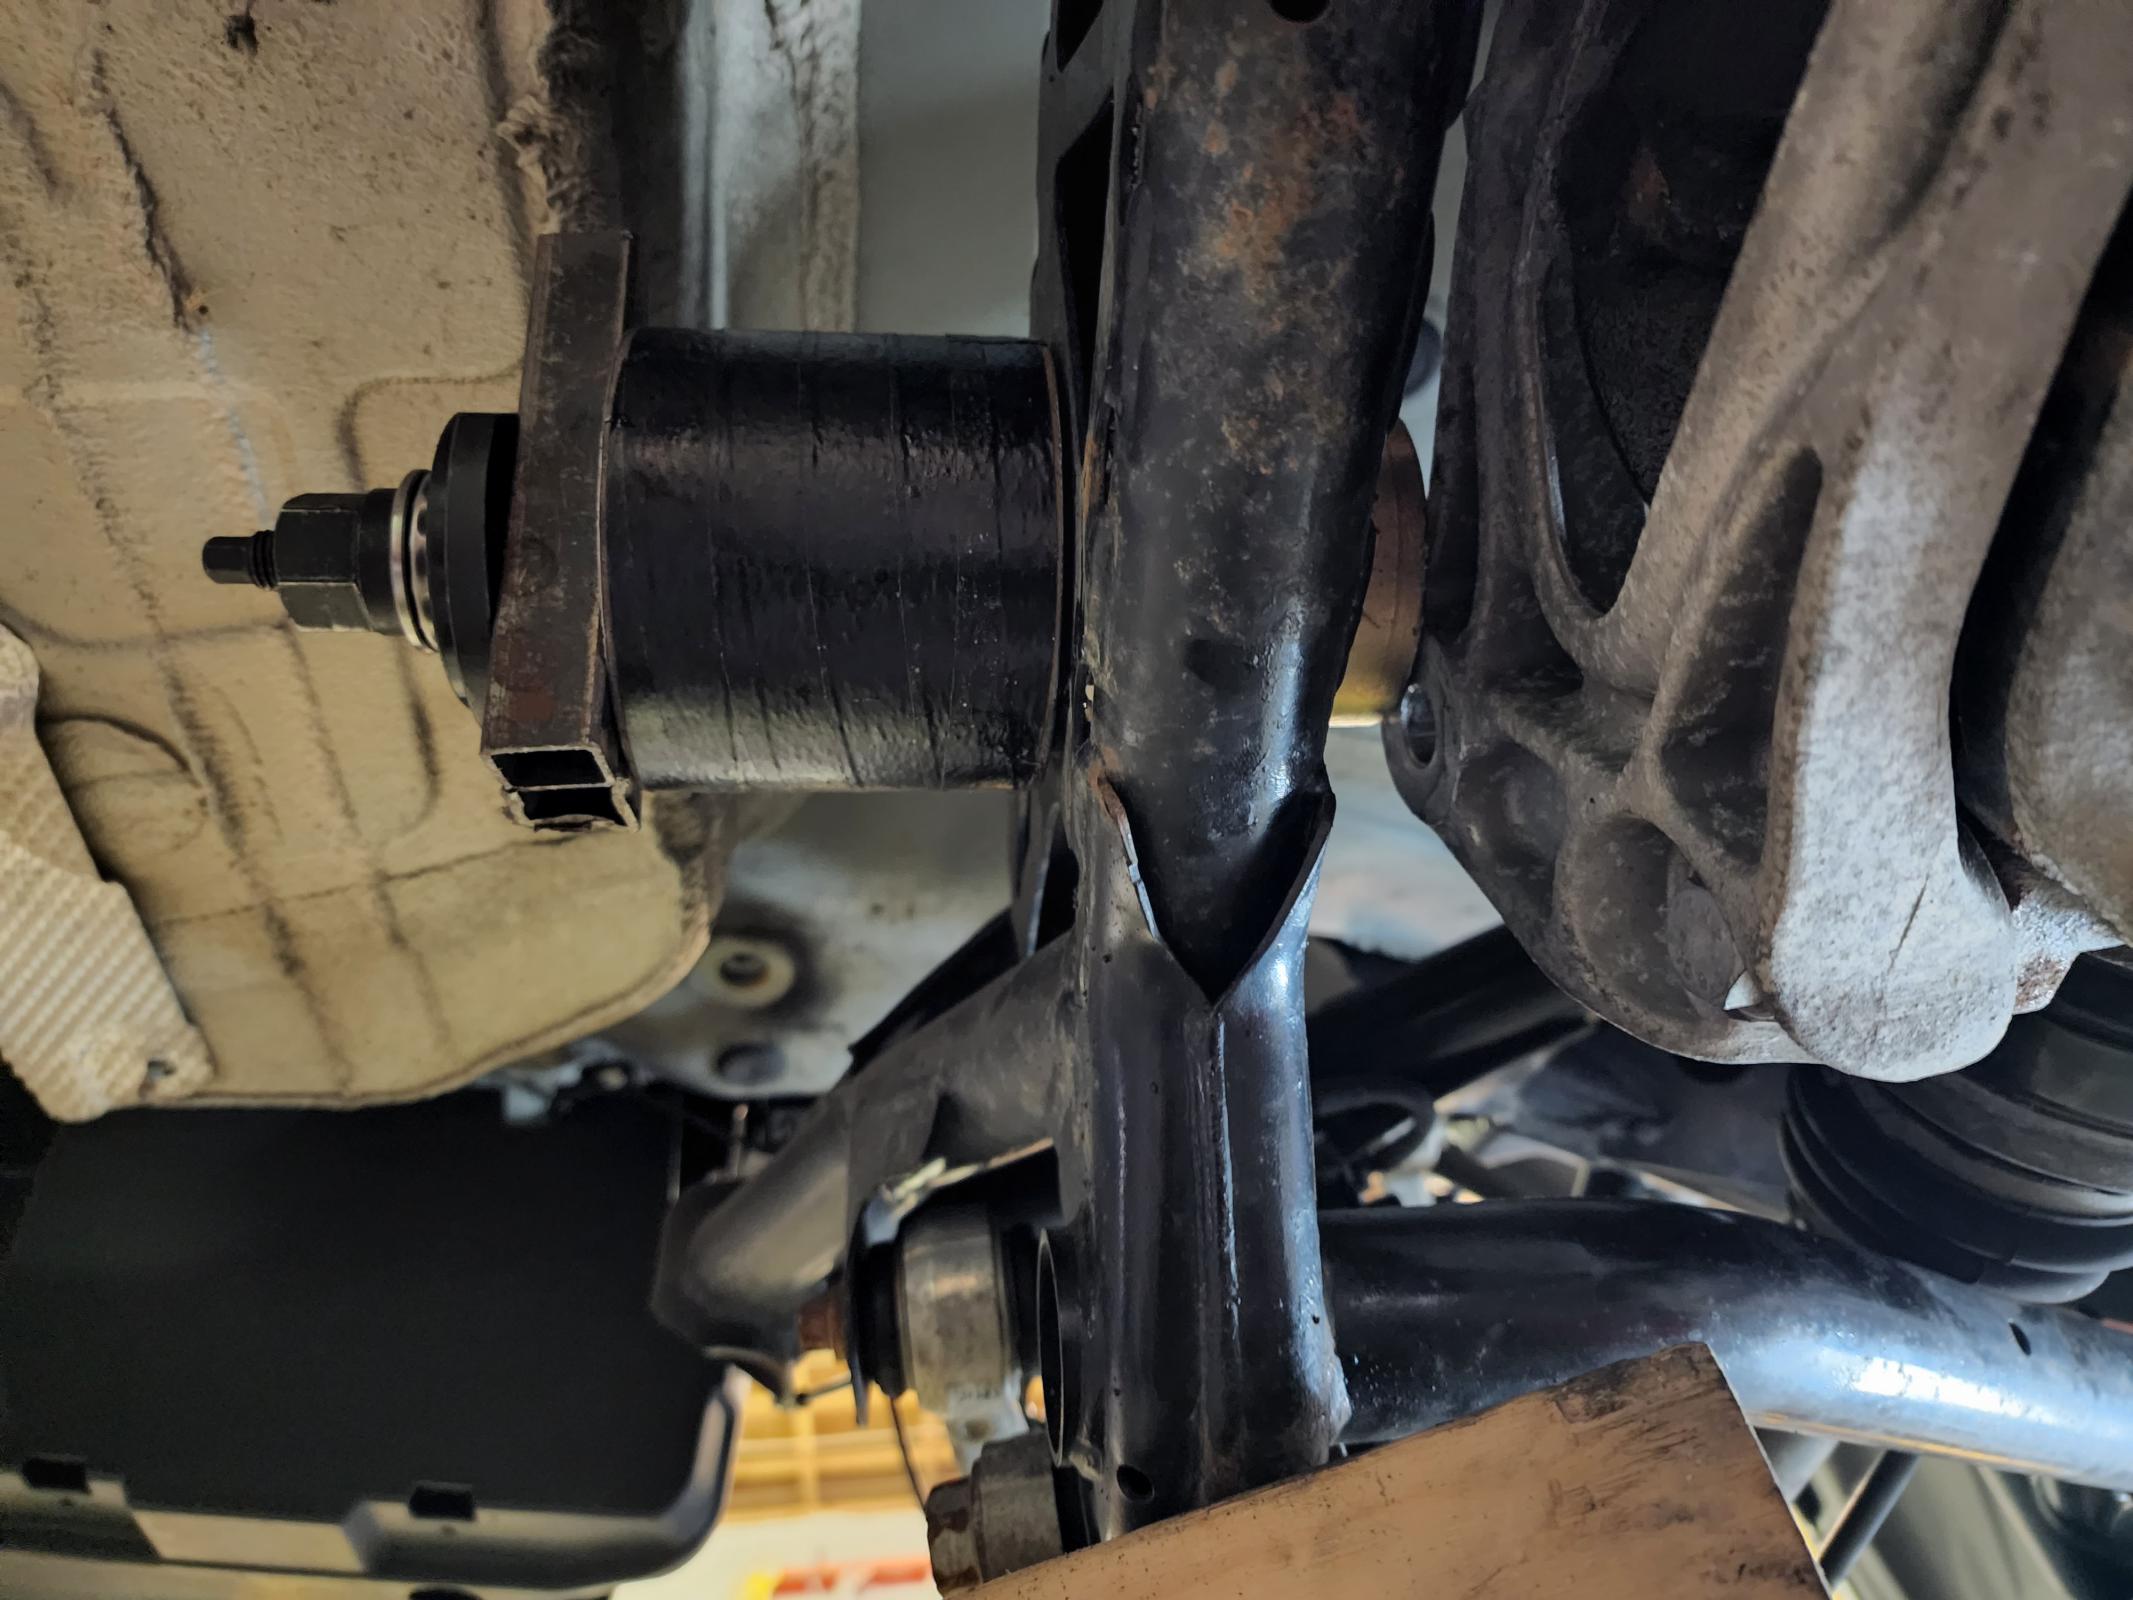
Fig. 1
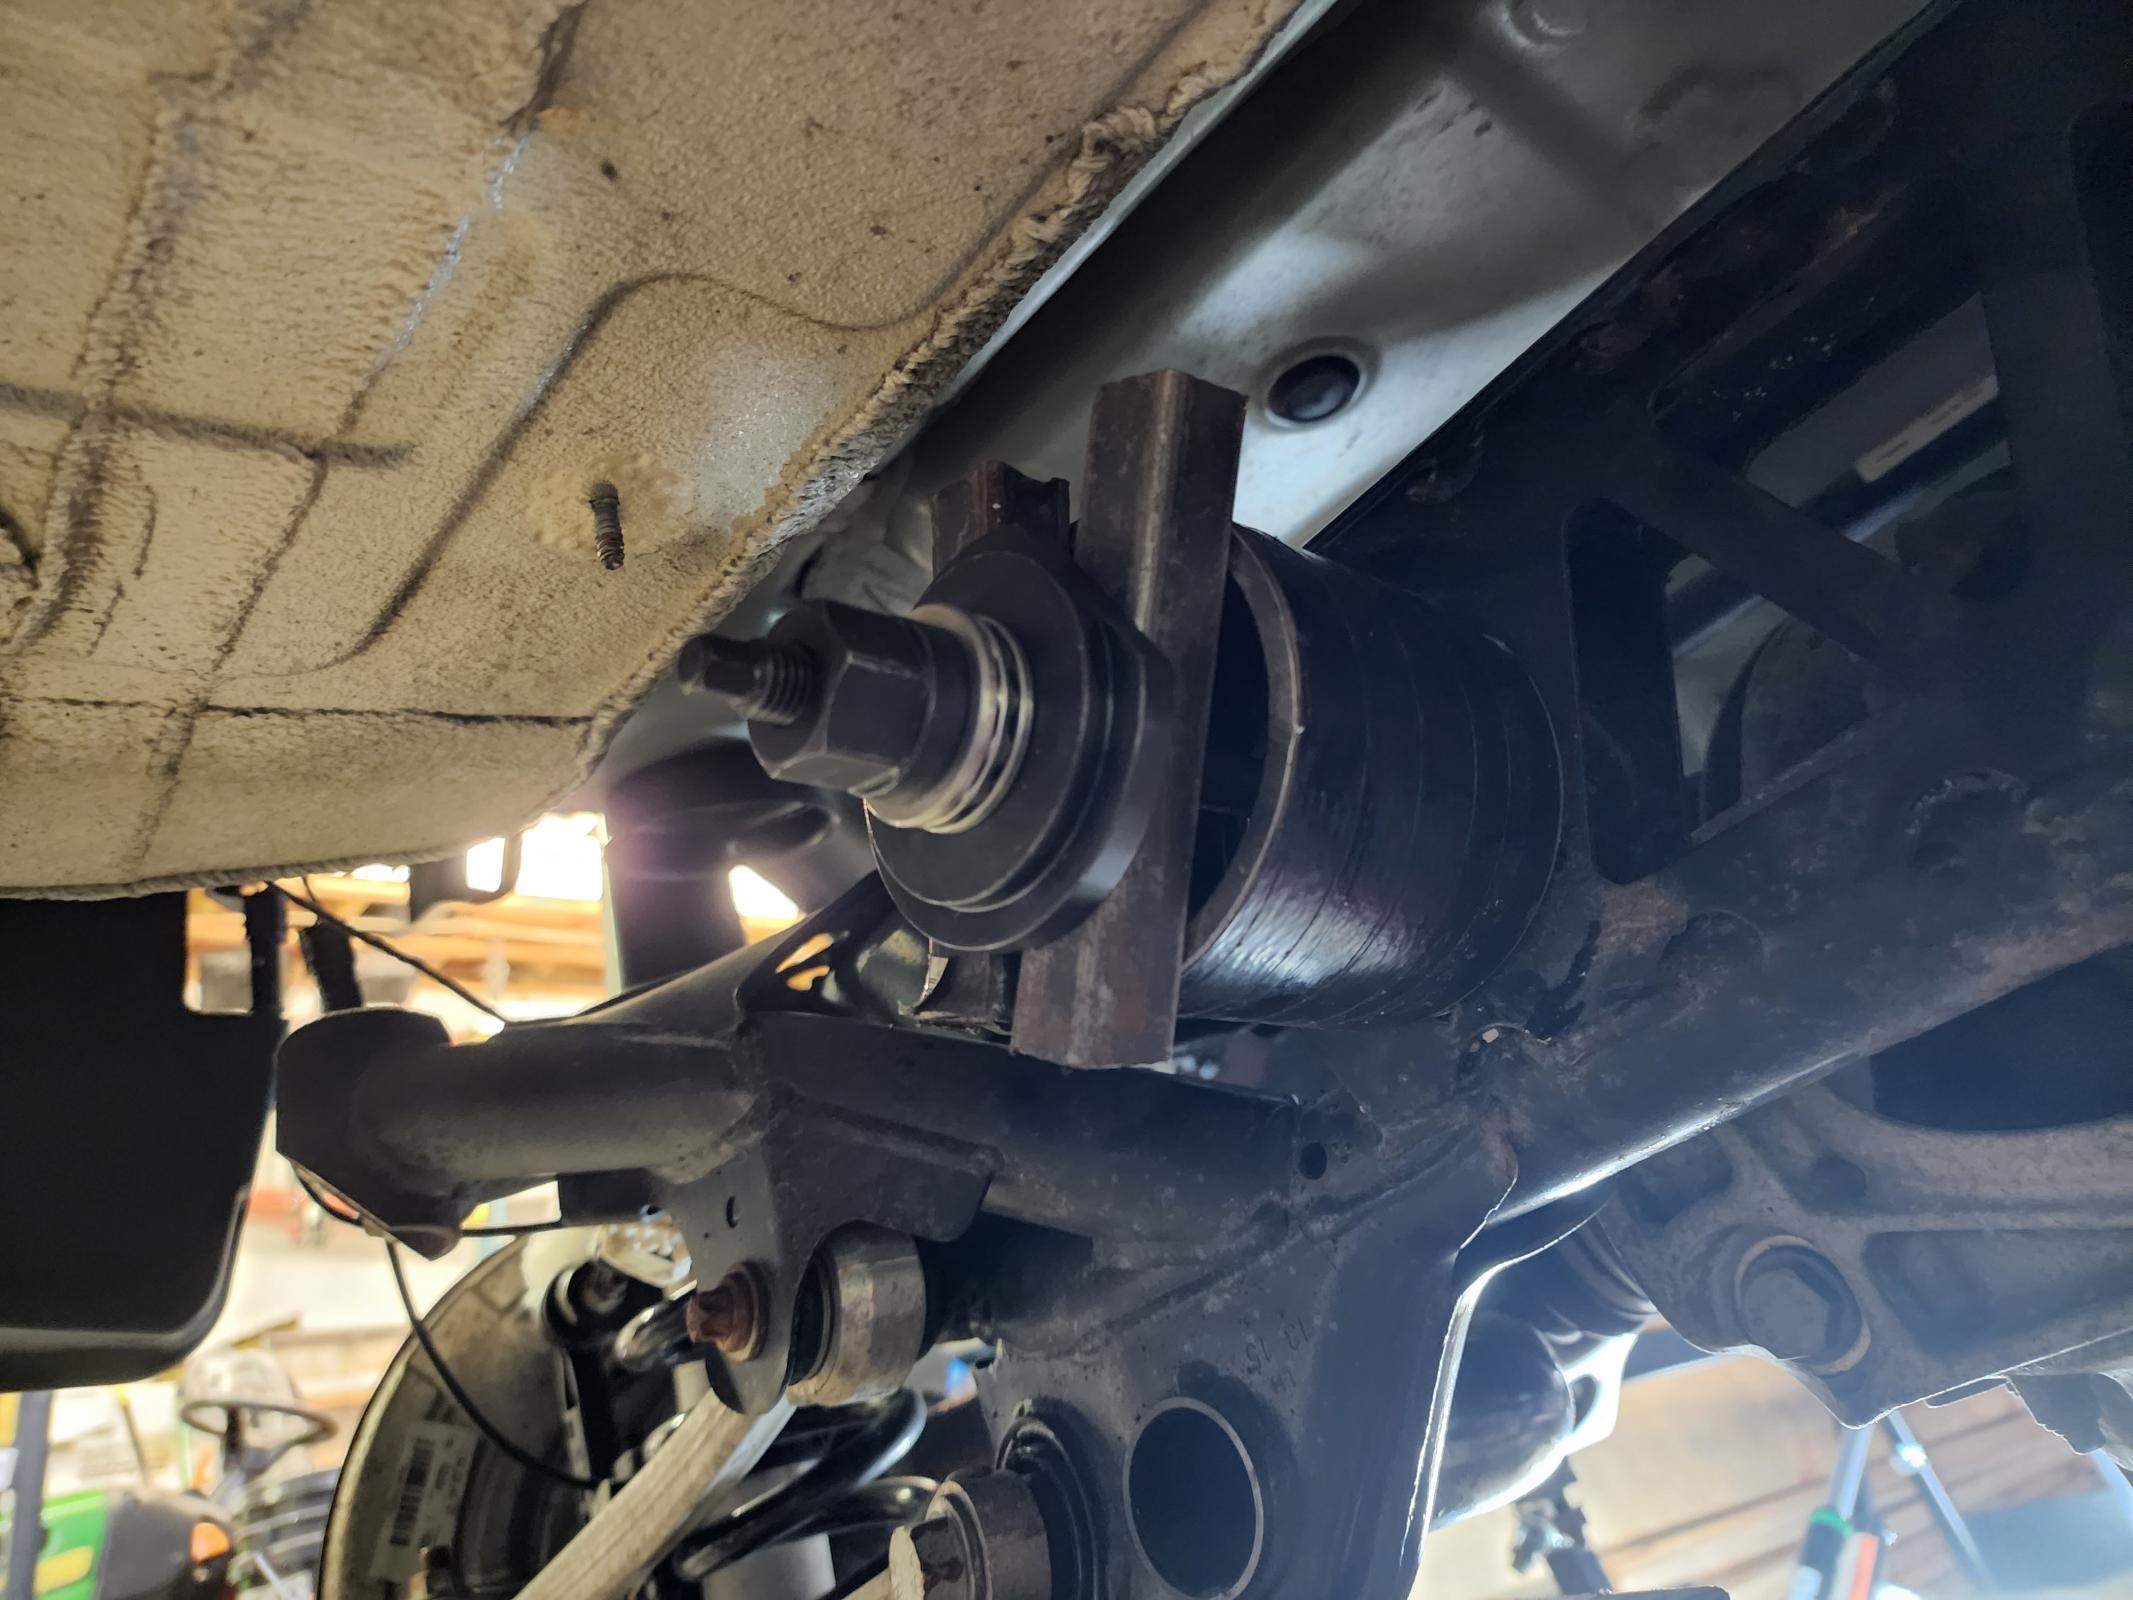
Fig. 2
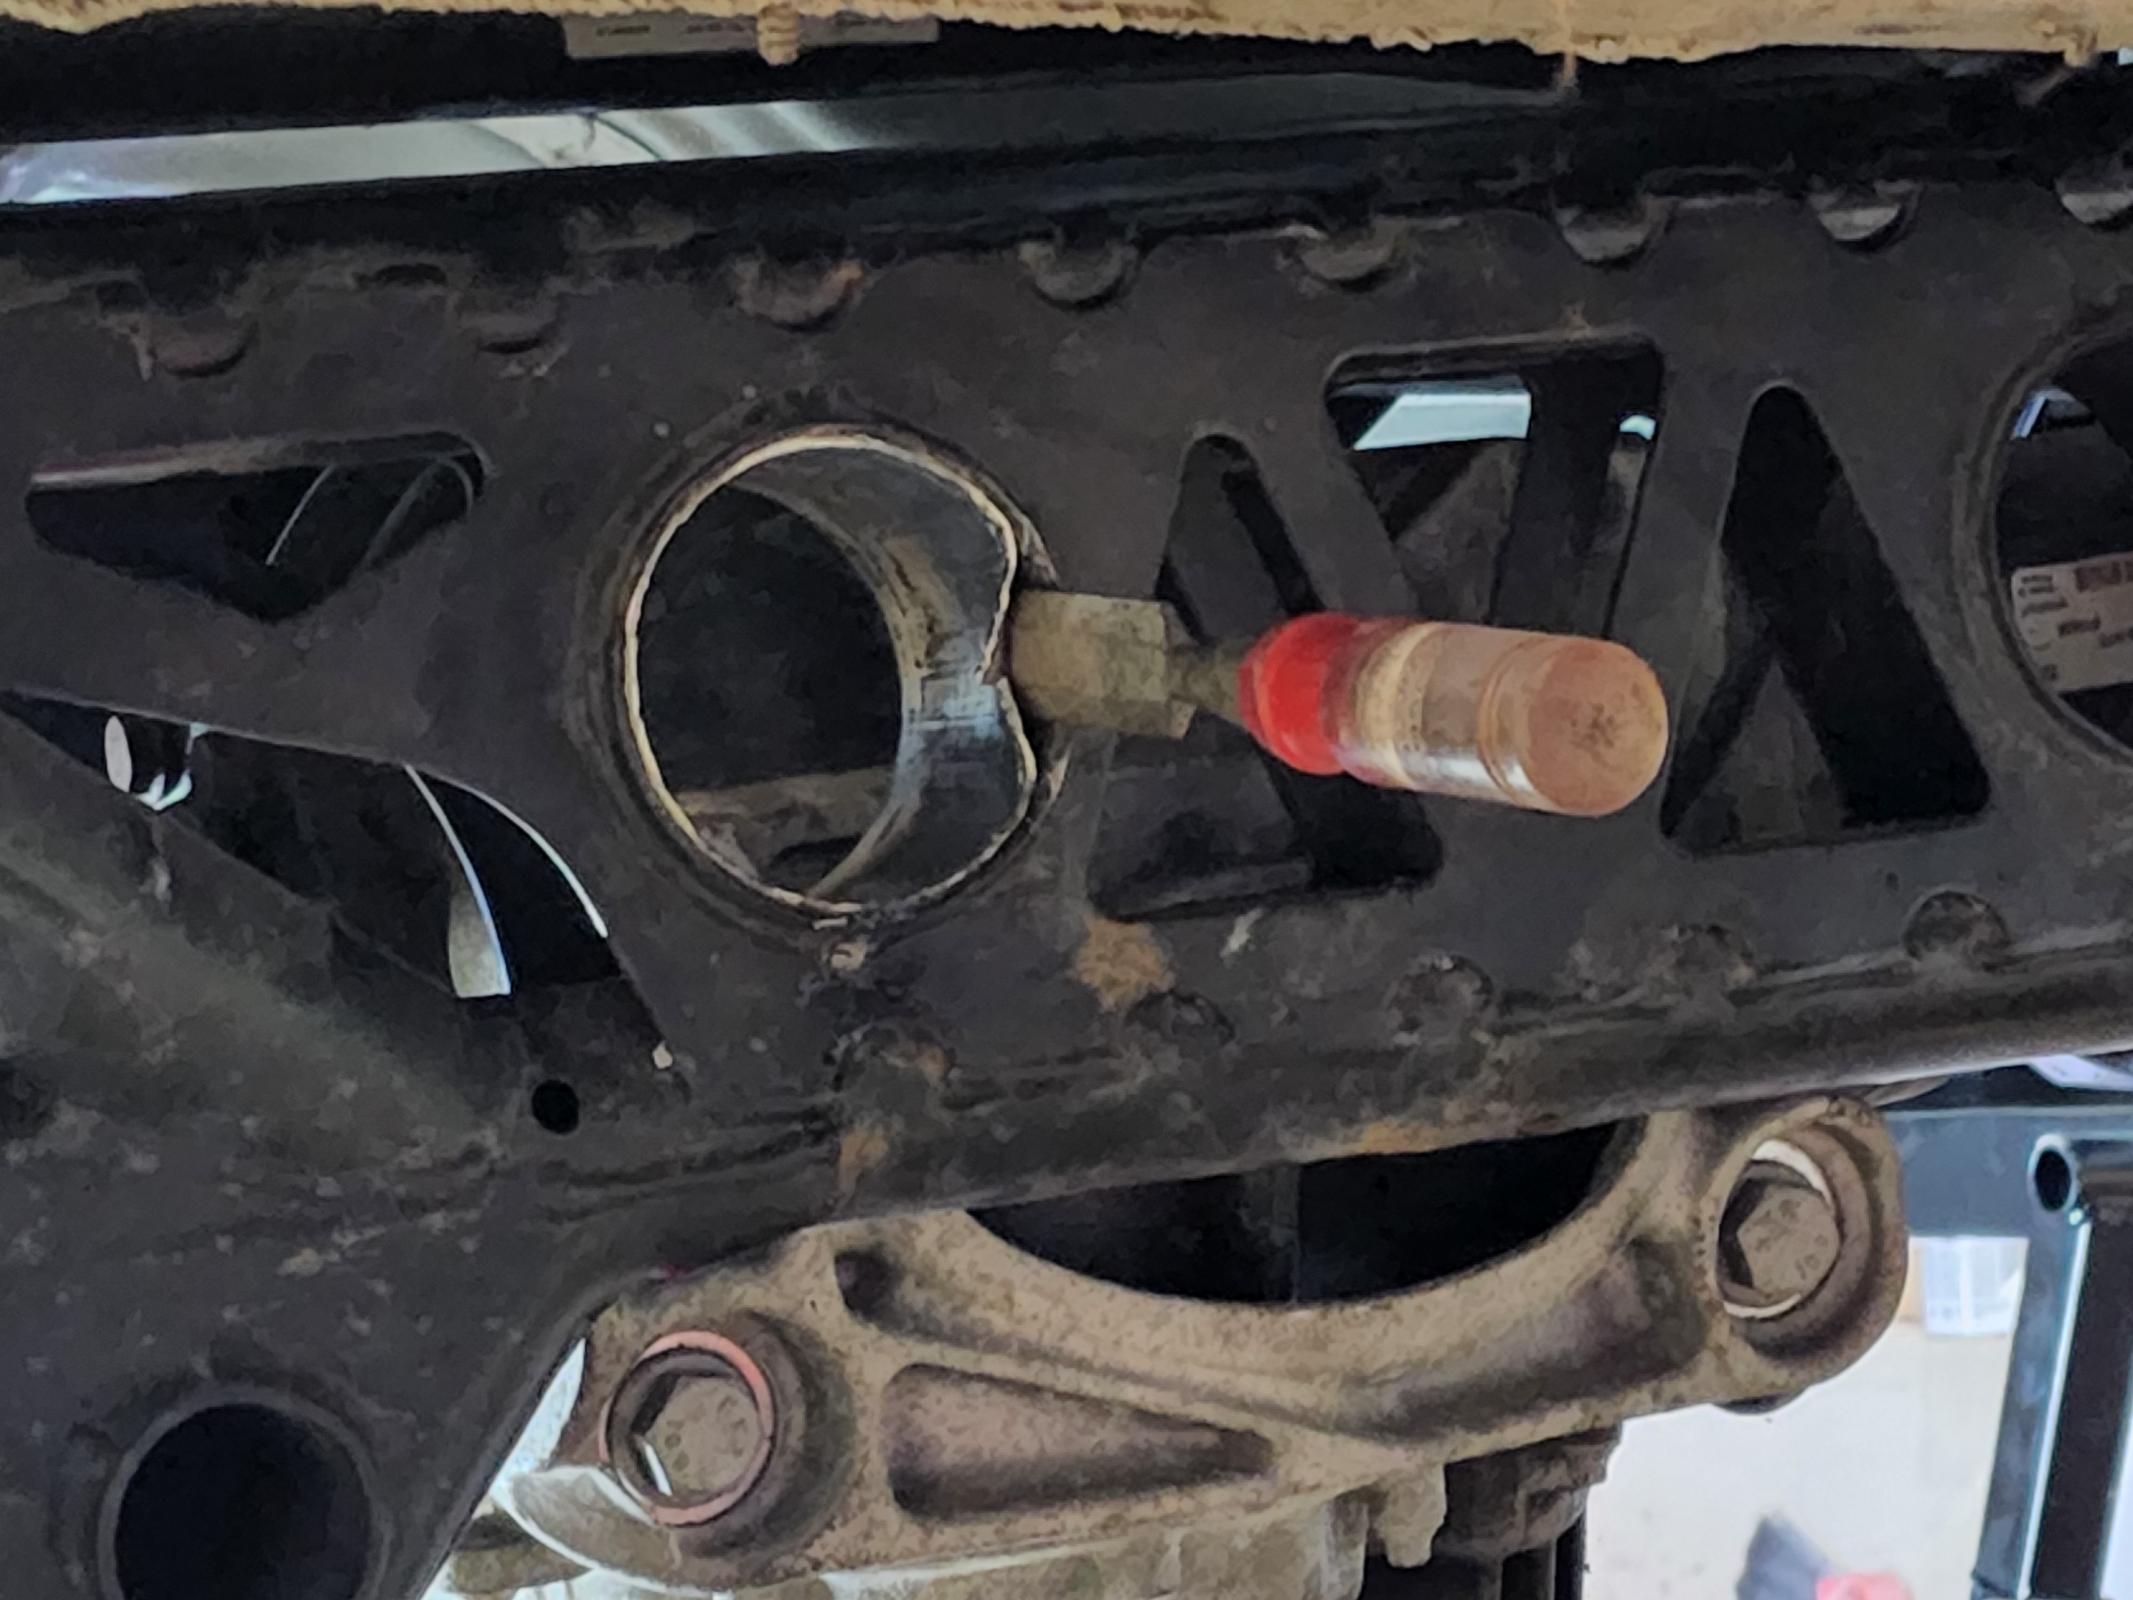
Fig. 3
16. Install rear diff bolt
Move diff into place and install rear bolt and two outer front bolts so diff is connected to subframe
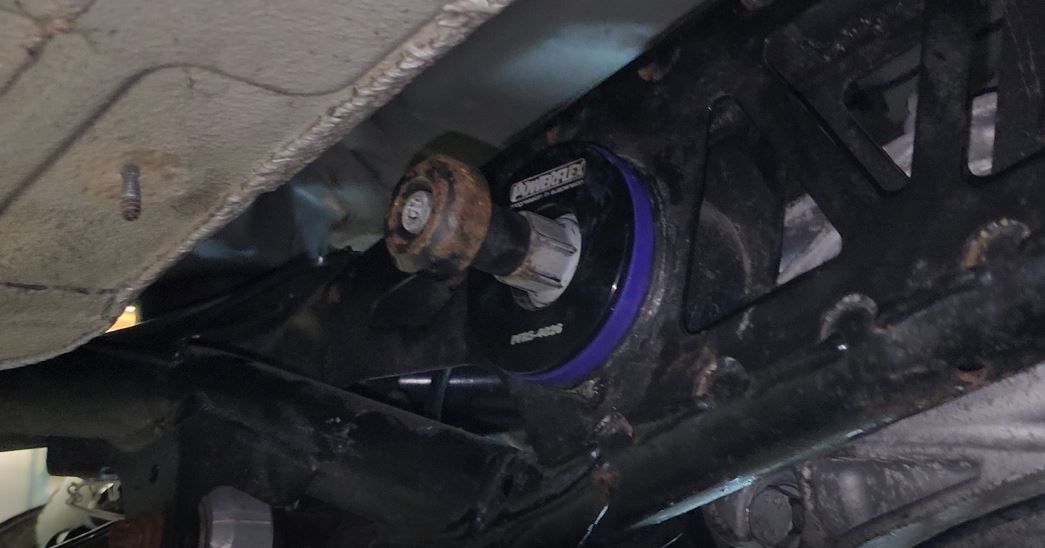
Fig. 1
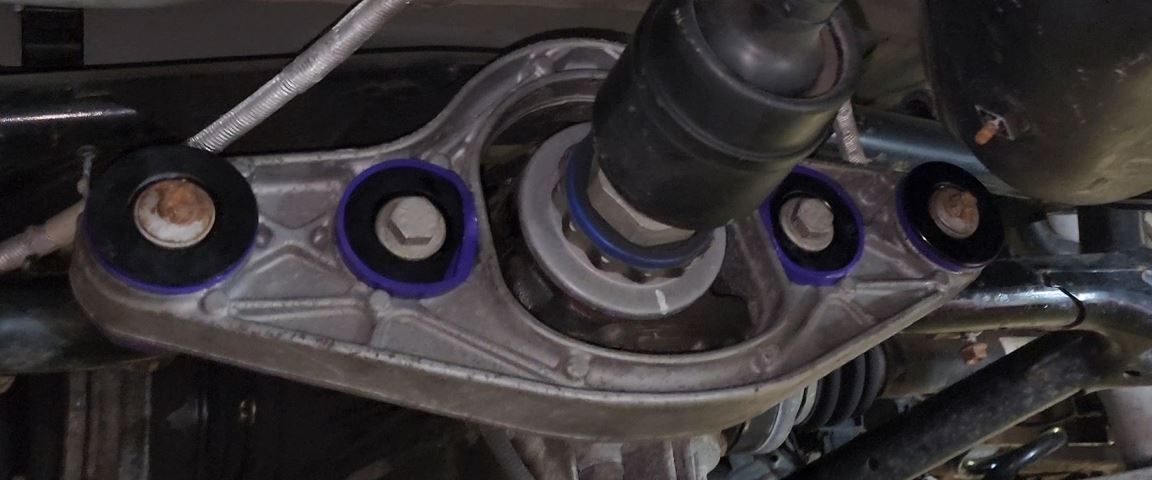
Fig. 2
17. Re-install
Lift drivers side of the subframe slowly and guide the drivers side shock and spring into place. Keep lifting until you can reinstall repair bolts. -Reinstall caliper and electrical connectors. -Lift both side of the subframe one at a time and reinstall new stock subframe bolts -Reinstall heatshields -Reinstall Exhaust -Reinstall V brace -Lower car and enjoy the amazing feeling of a diff that doen't bounce around while you're shifting
F80/F82 Ultimate Rear Diff Bushings DIY
Watch the attached YouTube video for more in depth on what options are available for upgrade. Issues I had that WERE RESOLVED: Clunking when changing gears (really annoying) Shifting never felt precise Shifter would move (6mt) back and forth when letting on and off the throttle Power didn't feel like it was being delivered smoothly BMW tells you to replace the following bolts: All 4 subframe bolts ( I highly recommend ) All 4 bolts on the front subframe mount ( I highly recommend ) Rear diff mount bolt All bolts on both V braces Torque Specs: -4 bolts on front diff mount - 120nm / 80 ft lbs -Rear diff bolt - 210nm / 15f ft lbs. -Vibration damper on rear bolt - 19nm / 14 ft lbs -Rear diff bracket - 120nm / 88 ft lbs -4 subframe bolts - 108nm / 80 ft lbs -6 guibo bolts - 55nm / 40 ft lbs (+ 90 degree) Part Numbers: -4x BMW Repair bolts: 07147426660 -4x BMW Repair bolt washer: 31336776760 -4x Replacement subframe bolts: 33302284642 -Guibo bolts: 26117527475 -Guibo nut: 26127536563

over 1 year ago (Last Updated: over 1 year ago)